Earlier this winter, I moved with my boyfriend into a quirky one-bedroom apartment in Manhattan’s West Village. When we found it we couldn’t believe our luck. “It’s perfect,” we told our friends and family: “We’re moving in January, so we’ll have a couple of months in the winter to take on some DIY projects and really make it our own.” Among other DIYs, I decided to repaint a table, several peg rails, and a massive wooden wardrobe, ordered from Ikea, to serve as my closet.
Cut to one month later: I just finished the last of the painting two days ago, and I found myself painting in every spare moment—til midnight on work nights, in between loads of laundry, while dinner was in the oven. For weeks our apartment has been a perilous obstacle course, tented in drop cloths, with still-wet boards propped against the walls. I confessed my exasperation to my coworkers when things were bad. I’d read—and written—about how easy, cheap, and inexpensive it is to transform furniture with a quick coat of paint, and I felt like I’d been living a lie.
Happily, though, I’ve come around: My theory is that painting furniture is the kind of tedious, frustrating experience you completely forget about once you’re done and you have a transformed, bespoke new piece to admire. It’s true that the secret to success is in the prep work (and that the prep is boring, messy, and time-consuming). But I also learned several lessons I’d never heard before (even working at a design publication). Here are my takeaways.

1. There will be dust.
There’s no way around it: sanding is a deeply unpleasant task. Take it from me, who spent several hours sanding my Ikea wardrobe, which came painted. I started by using my boyfriend’s random-orbit power sander, but it made too much noise (this was late at night) and sanded unevenly. So I went at it by hand. It’s hard work, you’ll work up a sweat, and the dust will get everywhere—we found a fine film of dust on a painting nearby, and it took days to get it out from under my nails.
But, if you’re painting something that’s already been finished or painted, sanding is essential. If you’re working inside, be sure to drape everything—everything—completely, wear a mask with a proper filter, vacuum often, and wipe your furniture with a tack cloth (not paper towels or a rag) so the dust doesn’t show up in the finished product.

2. Painting is not small-space friendly.
If you can, sand and paint outside. This eliminates the problem of dust and fumes and ensures you’ll have plenty of space. But in January in New York City, painting outside was not an option. Painting inside is do-able, but it’s tricky in a small space: everything will be covered in drop cloths and you’ll have to step around newly painted pieces and paint cans. And, of course, the project will probably take longer than you think. Be vigilant about your set-up and keep things neat (and crack a window when you’re priming and painting). Beyond that, just know that your living space will be taken over for a while.
3. You need to drape more than you think.
I thought I’d draped my apartment sufficiently with drop cloths, until I found a stray fleck of white paint on a wool coat on the other side of the room. If you’re painting inside, expect errant drops to get everywhere, no matter how hard you try to paint neatly. Buy several drop cloths (plastic, paper, or cloth are all fine) and cover your floors, walls, and furniture generously.
Also: invest in some knee pads. Unless you have space to prop everything on tables, you’ll be painting on the ground, and your knees will take a hit.
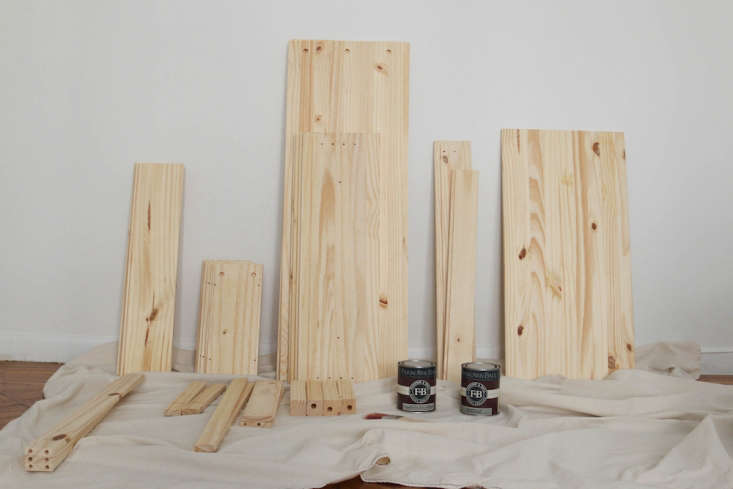
4. It’s worth it to de-assemble.
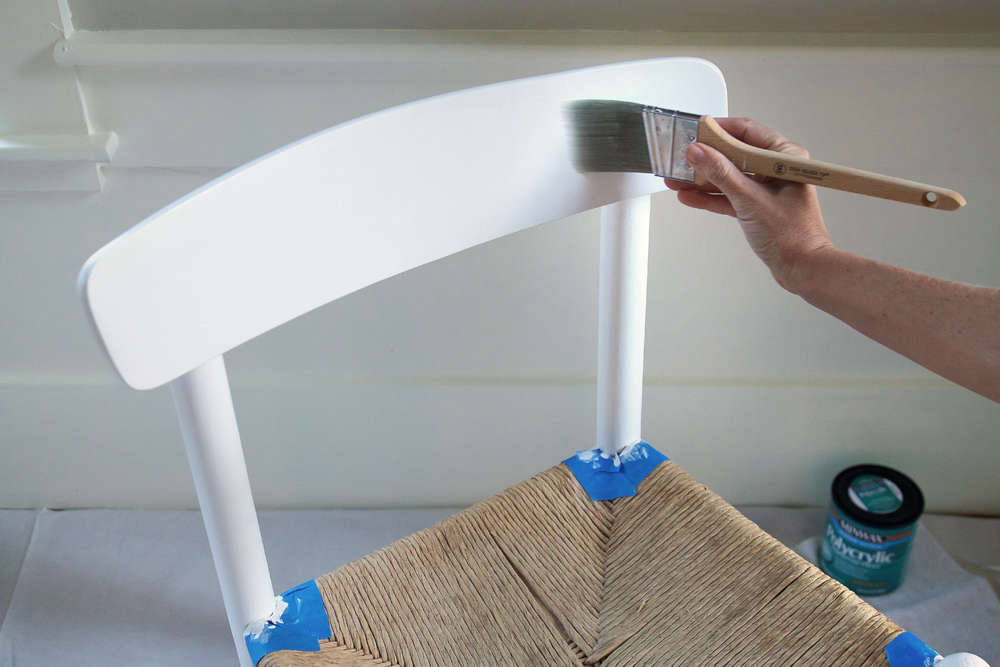
If you can, take your furniture apart before you paint it: flat surfaces are easier to paint evenly and you can be sure to get every crack and corner. That said, painting a deconstructed piece will take up more space. Also, take the time to remove all hardware and tape any areas you don’t want painted.

5. A no-fail primer is a must.
I tend to cut corners when I do projects: I’m impatient to get to the finished product. But it’s true that a successful paint project hinges on careful preparation—and yes, that includes priming your piece. It doesn’t need to be perfect; my boyfriend Matt (who does painting in art galleries and museums, among other things) told me it just needs to block some of the color coming through (if your piece was previously treated or painted) and give the paint something to adhere to. I didn’t want to chance my paint flaking off or bubbling a few years down the road, so I used Zinsser B-I-N Shellac-Based Primer, which makes paint adhere to just about any surface.

6. You could get away with sample cans.
It’s easy to misjudge how much paint you need. When I chose the paint for my wardrobe, I opted for a gallon, and now have three-quarters of a gallon left over. (And getting rid of paint is tricky.) When I painted the wardrobe over again (more on that later), I got a quart of paint and quite literally used every last drop. Gauge carefully, so you don’t fall into either camp. If it’s a small paint project you’re working on, chances are sample-sized cans will be more than enough. I painted six maple peg rails, each 36 inches long, with one sample can of paint from Home Depot—second coat included.
7. Good technique is all in the spin.
When I started painting, I had no idea what I was doing. After hours of watching me roll the thinnest layer of paint possible onto the furniture, pressing as hard as I could, Matt decided to put me out of my misery with some pointers. Here are 6 keys to a professional-looking paint finish:
- First, cut in all of the edges and corners. Feather out this line with the brush, so you don’t leave a straight line.
- Roll a good amount of paint onto your roller.
- Run the roller over the ridged part of the paint tray—fast, so that it spins. Spin it six or seven times to evenly distribute the paint onto the roller.
- Roll the paint on in straight swaths.
- Once you run out of paint on your roller, go over the sections you’ve just painted, again in straight lines, to smooth it and remove excess paint.
- Repeat.

8. You can color-match just about anything.
At a hardware store that doesn’t carry the paint color you’ve been coveting? Ask the specialists behind the paint counter. In my experience, they can tell you everything from what color to choose to tone down orange-hued floors, to what finish is best—and they can mix up just about any name-brand shade you want, within 98 percent accuracy, they told me.
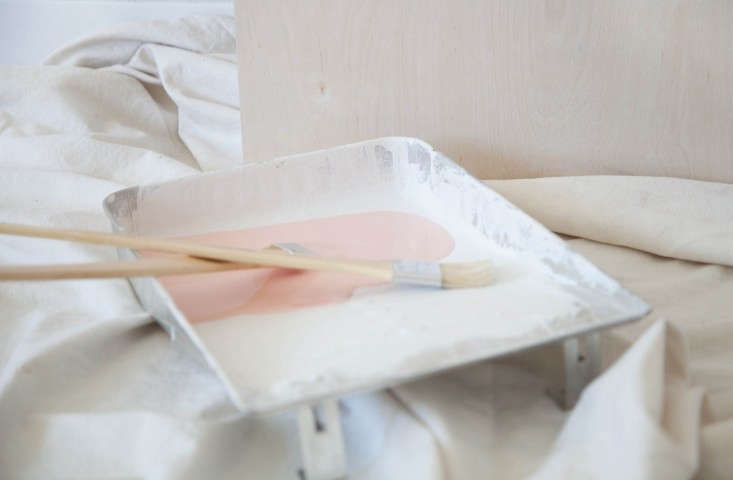
9. You might choose the wrong color—and have to start over.
I agonized over paint colors for my wardrobe. I came back from the hardware store with dozens of paint swatches, hung them on the wall, stood back, considered, left them there for a week, went back for more paint swatches, considered those, et cetera. After I finally chose and finished painting, I moved the wardrobe into the bedroom, only to realize that, in the very different light, the deep grey shade I’d chosen looked much too dark. After a few days’ more of agonizing over paint colors, I bit the bullet, bought more paint, and started over again.
The good news is, for all of the tediousness of painting, paint is pretty forgiving. If you use the same finish (eggshell over eggshell, for example), you won’t need to re-prime. And, at least in my experience, the second time around went more quickly and efficiently. Moral of the story: Picking a paint color is tricky, and despite how many swatches you look at, you can’t really tell what it’ll look like until you’re finished. Don’t be afraid to start over if you need to.
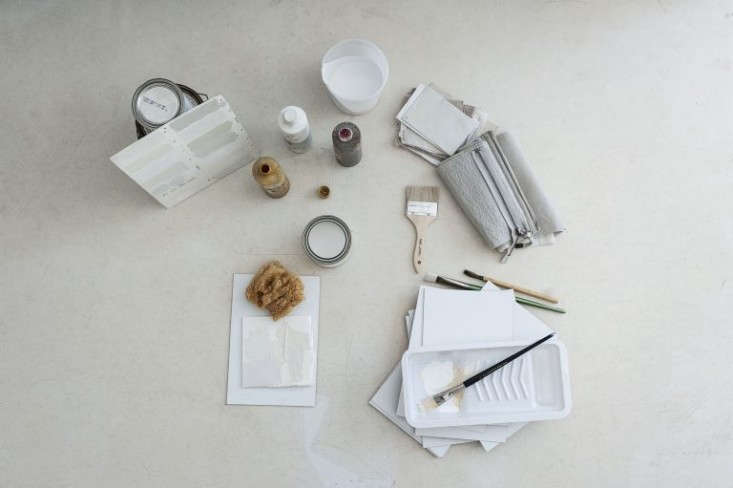
10. It’s not cheap.
I’m sure you could do a painting project for under $50: after all, paint itself isn’t too expensive, depending on the amount you opt for and the brand. But to do it right, you’ll also need drop cloths, rollers, roller covers, painter’s tape, brushes, primer, tack cloth, and sandpaper, and all of that adds up. All told, I spent over $150 on supplies—not outrageous, but certainly not as inexpensive as I’d thought. Still, I wouldn’t trade my finished projects: painting furniture yourself means you can completely tailor it to what you want (and you’ll have a sense of satisfaction at having done it yourself). As with many DIY and renovation projects, just budget for a little more of everything—cost, time, mess, hassle—to get it done.
Embarking on a paint project? See Expert Advice: How to Choose Paint Like a Pro. And for more things to know while you remodel and redecorate, see:
- 10 Things Nobody Tells You About Washing Your Bedding
- 10 Things Nobody Tells You About the Trendiest Tile of 2019
- 10 Things Nobody Tells You About Renovating Your Bathroom
- 10 Things Nobody Tells You About the Benefits of Wool
- 10 Things Nobody Tells You About Clawfoot Bathtubs
- 10 Things Nobody Tells You About Painting Kitchen Cabinets
- 10 Things Nobody Tells You About Shiplap
- 10 Things Nobody Tells You About Marble Countertops
- 10 Things Nobody Tells You About Painting a Room White

Have a Question or Comment About This Post?
Join the conversation