Like us, San Francisco blogger Caitlin Long of The Shingled House regularly turns to Commune Design of Los Angeles for a dose of inspiration. Perusing images on Pinterest from the firm’s book, Commune: Designed in California, Long noticed window treatments that looked exactly like the upgrade her light-blasted bathroom needed. The hands-on remodeler–Long is a RISD grad in furniture design who blogs about family life and household improvements–whipped up her own burlap version.
Start to finish time for three panels: five hours. Total cost per panel: less than $20. And Long assured us, “Anyone could do this project: Burlap is surprisingly easy to sew. It takes a seam very easily (although you will be covered in lint by the time you finish).” We’re ready to give it go.
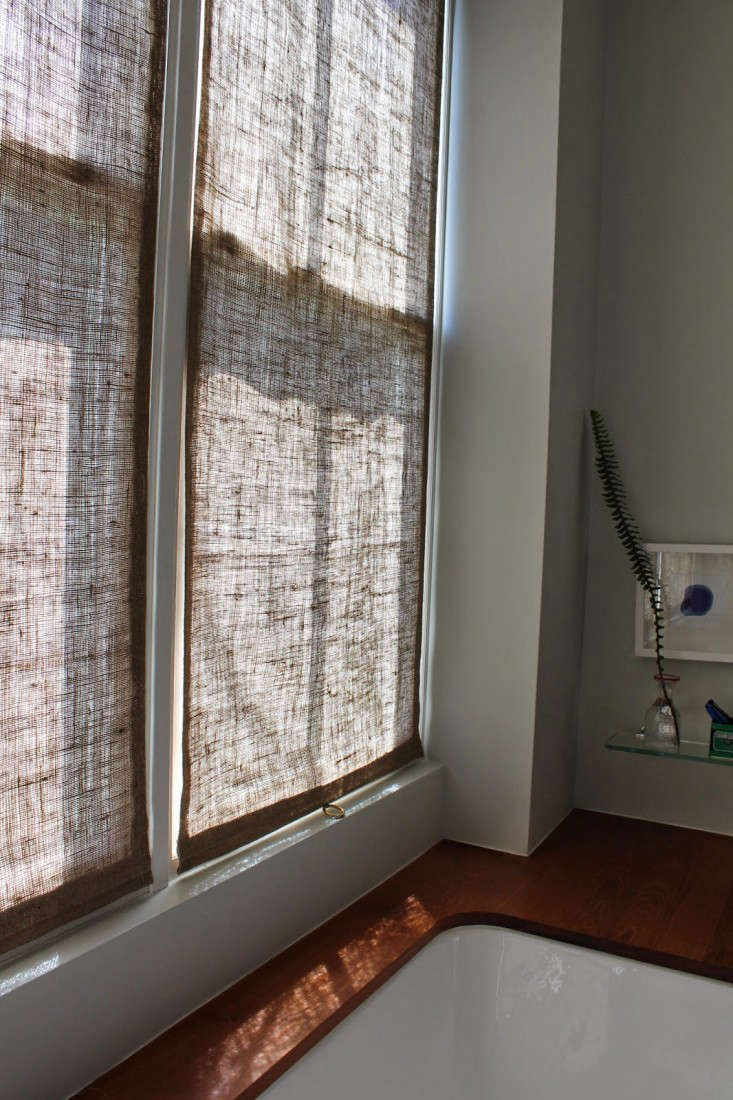
Photography by Caitlin Long via The Shingled House.

Intrigued by Long’s teak tub? Go to DIY: How to Refinish Household Teak, our post about how she refinished her bathroom.
Materials
- Sewing machine
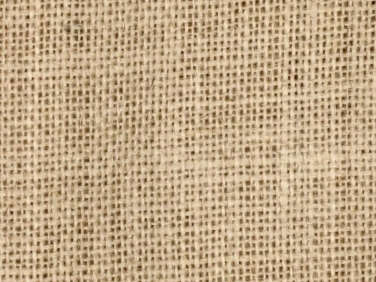
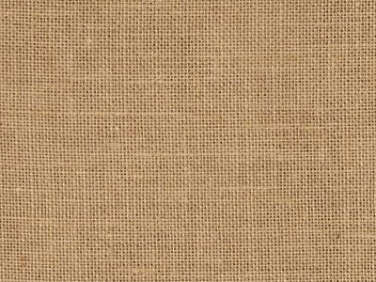
- Upholstery-grade, all-cotton burlap, such as Natural Burlap from Fabric.com; $4.26 per yard. Long used approximately one yard (from a 40-inch wide bolt) per window and bought hers from Discount Fabrics in San Francisco for $2.75 per yard)
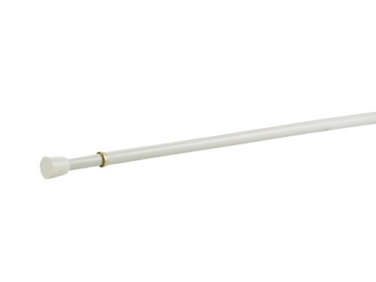
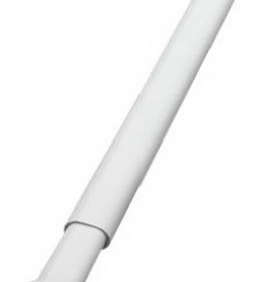
- Spring-loaded curtain rod (one per window). Levolor 18- to 28-Inch Spring Tension Rods are $8.99, and are similar to what Long used. A more elegant version, she points out, is the Concealed-Mount Cafe Rod Set; $45 from Rejuvenation.
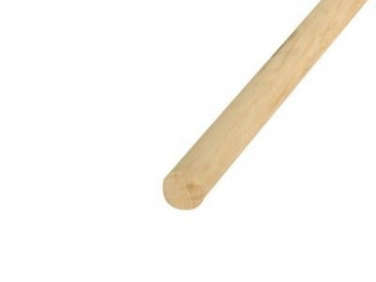
- 3/8-inch wooden dowel (one per window). Home Depot sells Four-Foot-Long Hardwood Dowels for $1.14 each
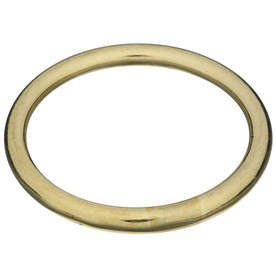
- 1 1/2-inch brass rings (one per window), such as National Hardware Rings in Solid Brass; $5.45 each via Amazon
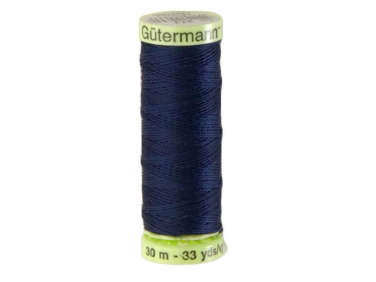
- Topstitching thread for attaching the brass rings. Gutterman Heavy-Duty Polyester Thread is $6.02 for 33 yards
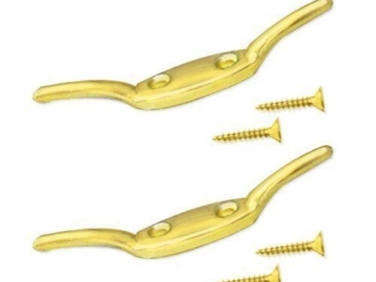
- Solid Brass Rope Cleats (one per window) are $3.49 for two via Amazon
Before

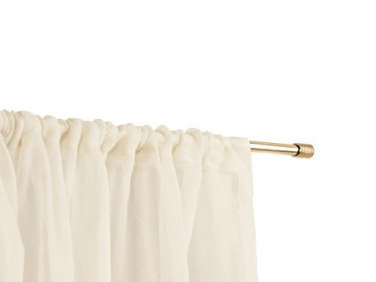
The burlap panels replaced thin muslin shades that, writes Long, “were, like me, looking a little tired. The muslin had torn in a few places and recently got a little blue marker on them—who even knows how that happened. And they had shrunk so much from washing that they didn’t even fit the windows anymore.” Long wanted to replace them with sun-filtering panels that would cast a more flattering light when she looks in the mirror. “The brightness of the sun from those windows is really unforgiving. Yes, I changed those curtains because of vanity!”
The Inspiration

The Details


The Results


There’s more to see: Long won the 2014 Remodelista Considered Design Award for the Best Amateur-Designed Office Space. Take a look, then go to Design Sleuth to learn about the room’s portable camp stove.
Inspired by Long’s industriousness? See our catalog of DIY Projects for more ideas, including:
- DIY Copper Pipe Curtain Rods for $35
- 8 Easy Low-Cost, Low-Commitment Summer DIY Projects with Painter’s Drop Cloths
- DIY: A Summery Side Table by Two Young Paris Architects
N.B.: This post is an update; the original story ran on May 1, 2015 as part of our issue called The Organized Kitchen.


Have a Question or Comment About This Post?
Join the conversation