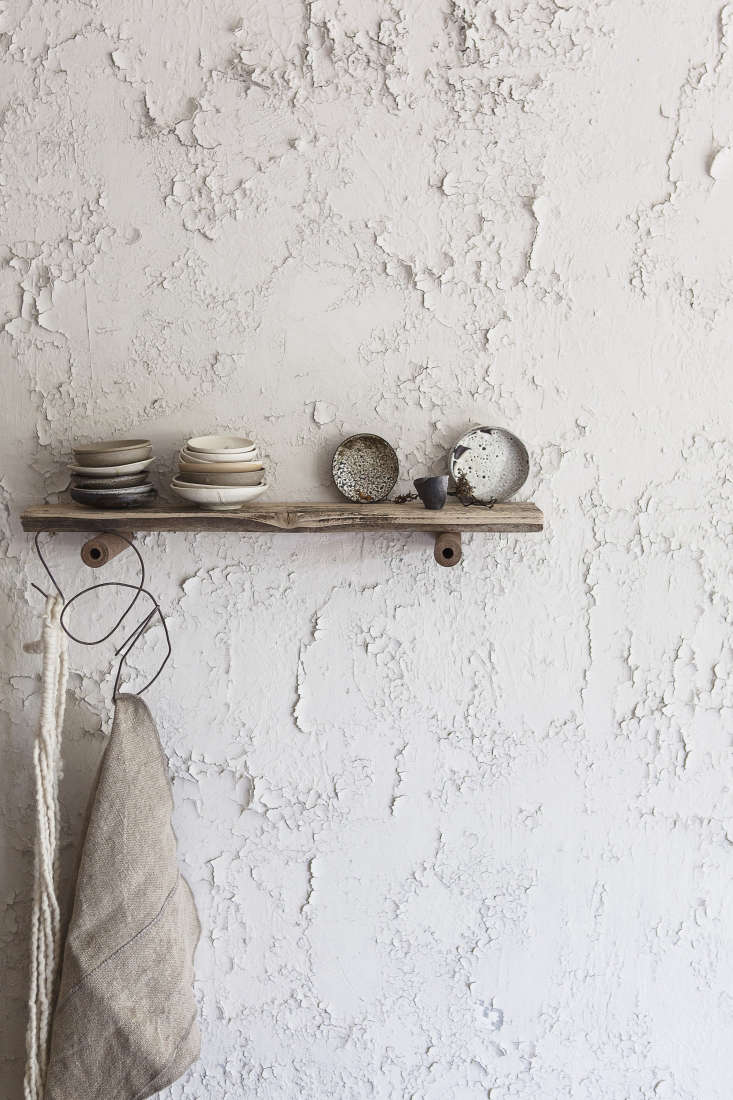
Textured, even excavated interior walls—the sort with charmingly exposed plaster or peeled-back wallpaper—are trending. (Read: Trend Alert: The Excavated Look, 15 Ways.) Not so much the other sort of textured walls: the “orange peel,” popcorn, or faux-stucco walls that might plague your house or rental.
If you love your new place but don’t love the textured walls, what’s the solution? To get some options, we talked with Joan Barton, owner of Los Angeles’s Dirty Girl Construction. (She has helped us with other pressing questions in the past; see her take on 5 Things Your Contractor Wishes You Knew (But Is Too Polite to Tell You).) Read on.

What are textured walls?
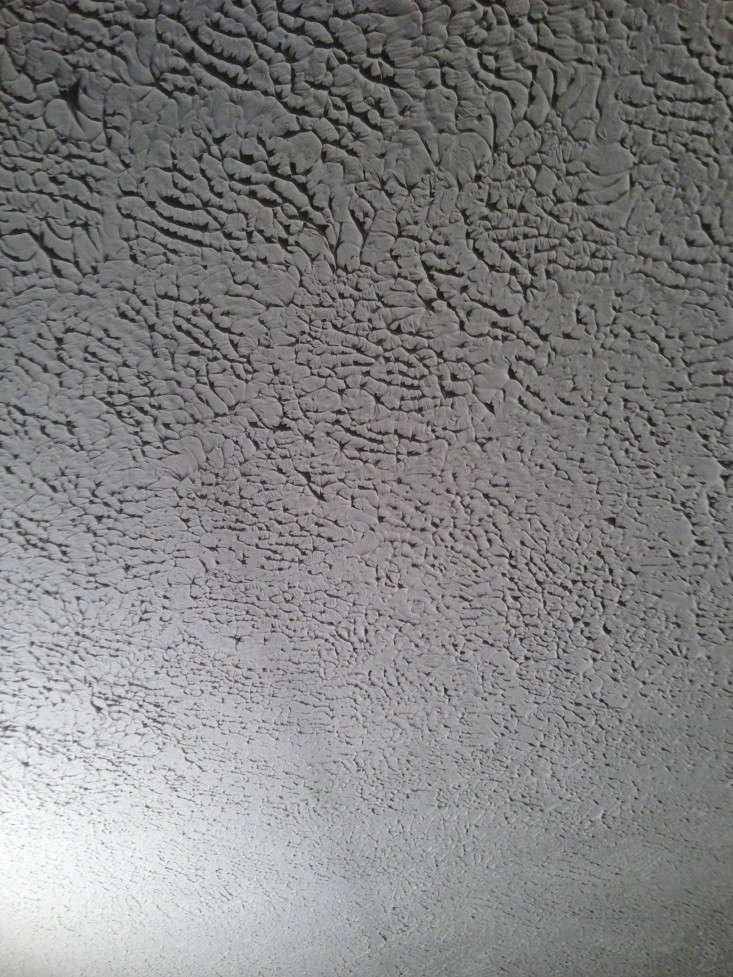
Textured interior walls (think: “orange peel,” popcorn, or swirled patterns) have a practical function, since the texture hides the signs of drywall installation—that is, the taped seams where the sheets of drywall meet—and other imperfections. “It’s cost-saving,” says Barton. “Maybe people actually liked it back in the seventies, but the reason it’s done now is to save money. It’s cheap and fast.”
That’s why you often see textured walls in rental or commercial buildings. It’s also a more durable surface than a smooth wall, and less affected by minor wear and tear. And some people still feel texture adds character: The bumps reflect light and create shadows, making ordinary walls less “boring.”

How are textured walls achieved?
Typically, the texture is sprayed on; sometimes patterns are added, either with a soft brush or an implement like a comb, rag, or sponge. And the textures and patterns have names: For example, there’s Santa Fe (for an adobe look), “orange peel,” “knockdown,” “swirl,” and “cat’s paw.” It’s also possible to apply ready-made texture paint using a brush or roller.

Four ways to get rid of unwanted textured walls:
To many of us, the best wall is the smoothest wall you can get. Here are four ways to turn a stippled surface into a smooth one. These methods will also work with walls that are distressed in other ways (should you tire of the exposed plaster or old-wallpaper look someday).

1. Apply a skim coat.
When drywall is installed, the fasteners and taped seams are skim coated—covered with a thin coat of joint compound, or “mud,” to level the surface in preparation for painting or papering. The same technique gets rid of textured walls. A thin coat of mud is applied over the entire wall surface, allowed to dry, and then sanded smooth. Especially bumpy walls may need more than one coat.
Skim coating a whole room is both messy and time-consuming. The job is perhaps best left to a professional who has the experience (and strategies) to keep sanding dust from infiltrating every crevice of your home.
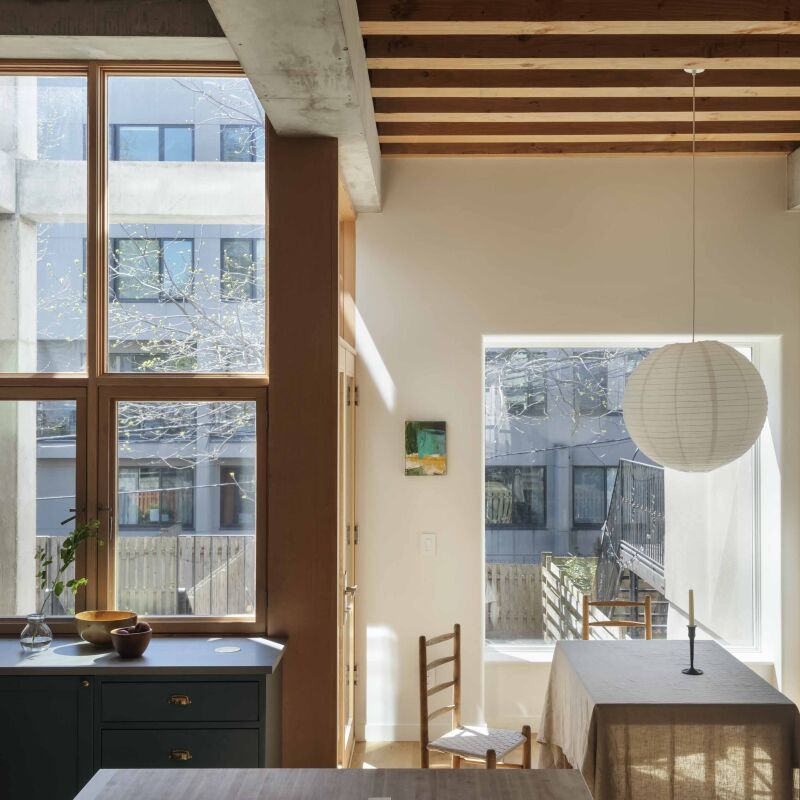
Once the repaired surface is smooth, it can be sealed with a primer and then painted or wallpapered, as desired.

2. Replace the textured drywall with new drywall.
“This could be less expensive than skim coating the whole room,” says Barton. “It’s probably your best choice if the texture is particularly heavy—such as the stucco look you might see in a Spanish-style home.” But note that installing new drywall also means skim-coating to cover the seams and get a smooth surface—along with all the dust that entails.

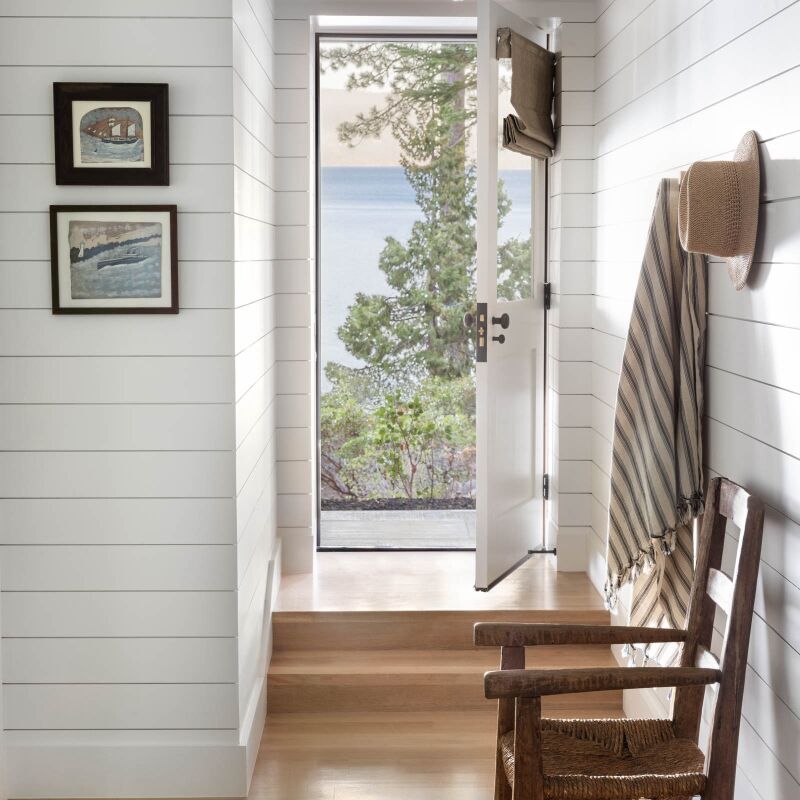
3. Cover the walls with another material, such as wood.
“Wood paneling is gaining popularity these days,” says Barton. “Flooring companies are doing wall surfaces now with beautiful wood.” She’s also seen corrugated metal installed over drywall, and says, “if you’re into an industrial look, it can be very cool.”
But, she warns, “adding a new surface means you’ll also have to address the issue of baseboards, if there are any. The new layer will likely protrude past the profile of your baseboards and look like a DIY gone wild.”
To fix the problem, you can remove the baseboards altogether and run the paneling down to the floor. Barton suggests installing a Fry Reglet metal component that holds the bottom of the paneling just above the floor, so it looks as if it’s floating (the metal piece is almost invisible).
The other option: remove the baseboards, add some stock wood at the bottom of the wall, and reinstall the baseboards flush with the new paneling.

4. Live with it.
“Get some cool artwork that distracts the eye away from the ugly texture,” Barton suggests. Another way to trick the eye: “Keep all the room’s lighting low and away from the walls.” She also recommends flat paint, as bright or glossy paint will just highlight the texture.
Barton herself lives with textured walls in both her home and office. “It’s not that big a deal, but it does bother me,” she says. “So I keep the light away from the walls and use neutral colors that dumb down the texture. With the right furniture, who’s going to be looking at your walls?”
N.B.: For a product that helps cover up ugly textured ceilings, see Remodeling 101: An Easy (and Affordable) Way to Fix Ugly Ceilings.
More Remodeling 101 advice for walls:
- Remodeling 101: How to Patch Nail Holes, Tips from a Master Painter
- Remodeling 101: The Ultimate Wood Paneling Guide with Jersey Ice Cream Co.
- Remodeling 101: 12 Essential Tips for the Perfect Paint Job
Frequently asked questions
Why would I want to get rid of textured walls?
Textured walls may not be preferred for various reasons. They can make a room feel dated, collect dust more easily, limit design options, and pose challenges when it comes to painting or wallpapering.
How can I determine if my walls are textured?
Textured walls are often characterized by a rough or uneven surface. You can visually inspect the walls and run your hand across them to feel for any raised or bumpy areas.
What are the methods to remove textured walls?
There are several methods to remove textured walls, including sanding, skim coating, and using a wall texture removal product. The best method depends on the extent of the texture and your preference.
Can I remove textured walls on my own, or should I hire a professional?
Removing textured walls can be a labor-intensive task, so it's recommended to hire a professional if you're not experienced in this type of work. Professionals have the necessary tools and expertise to ensure a smooth and efficient removal process.
How do I prepare the room before removing textured walls?
Before starting the removal process, it's important to protect the floors, furniture, and any other items in the room. Covering them with drop cloths or plastic sheets will help prevent damage or mess.
Is it necessary to test for asbestos before removing textured walls?
If your home was built before the 1980s, it's possible that the textured walls contain asbestos, especially if the texture resembles popcorn or cottage cheese. In such cases, it's crucial to have the texture tested for asbestos by a professional before attempting removal.
What is skim coating, and how is it done?
Skim coating is a technique used to create a smooth surface on textured walls. It involves applying multiple thin layers of joint compound or drywall mud to fill in the texture, followed by sanding and priming to achieve a flat finish.
Can I apply new texture after removing the old texture?
Yes, if you prefer a textured finish, you can apply a new texture after removing the old one. There are various texturing techniques, such as using a texture roller or sprayer, that can be used to create the desired effect.
Will removing textured walls damage the underlying drywall?
The removal process can potentially damage the underlying drywall if not done carefully. It's important to use proper techniques and tools to minimize damage. In some cases, minor repairs or patching may be necessary before finishing the walls.
What are the alternative options if I don't want to remove textured walls?
If you prefer to keep the textured walls but want to update their appearance, you have alternative options. You can paint over the texture using a thick-nap roller or apply wallpaper designed for textured surfaces to give a new look to the walls.


Have a Question or Comment About This Post?
Join the conversation