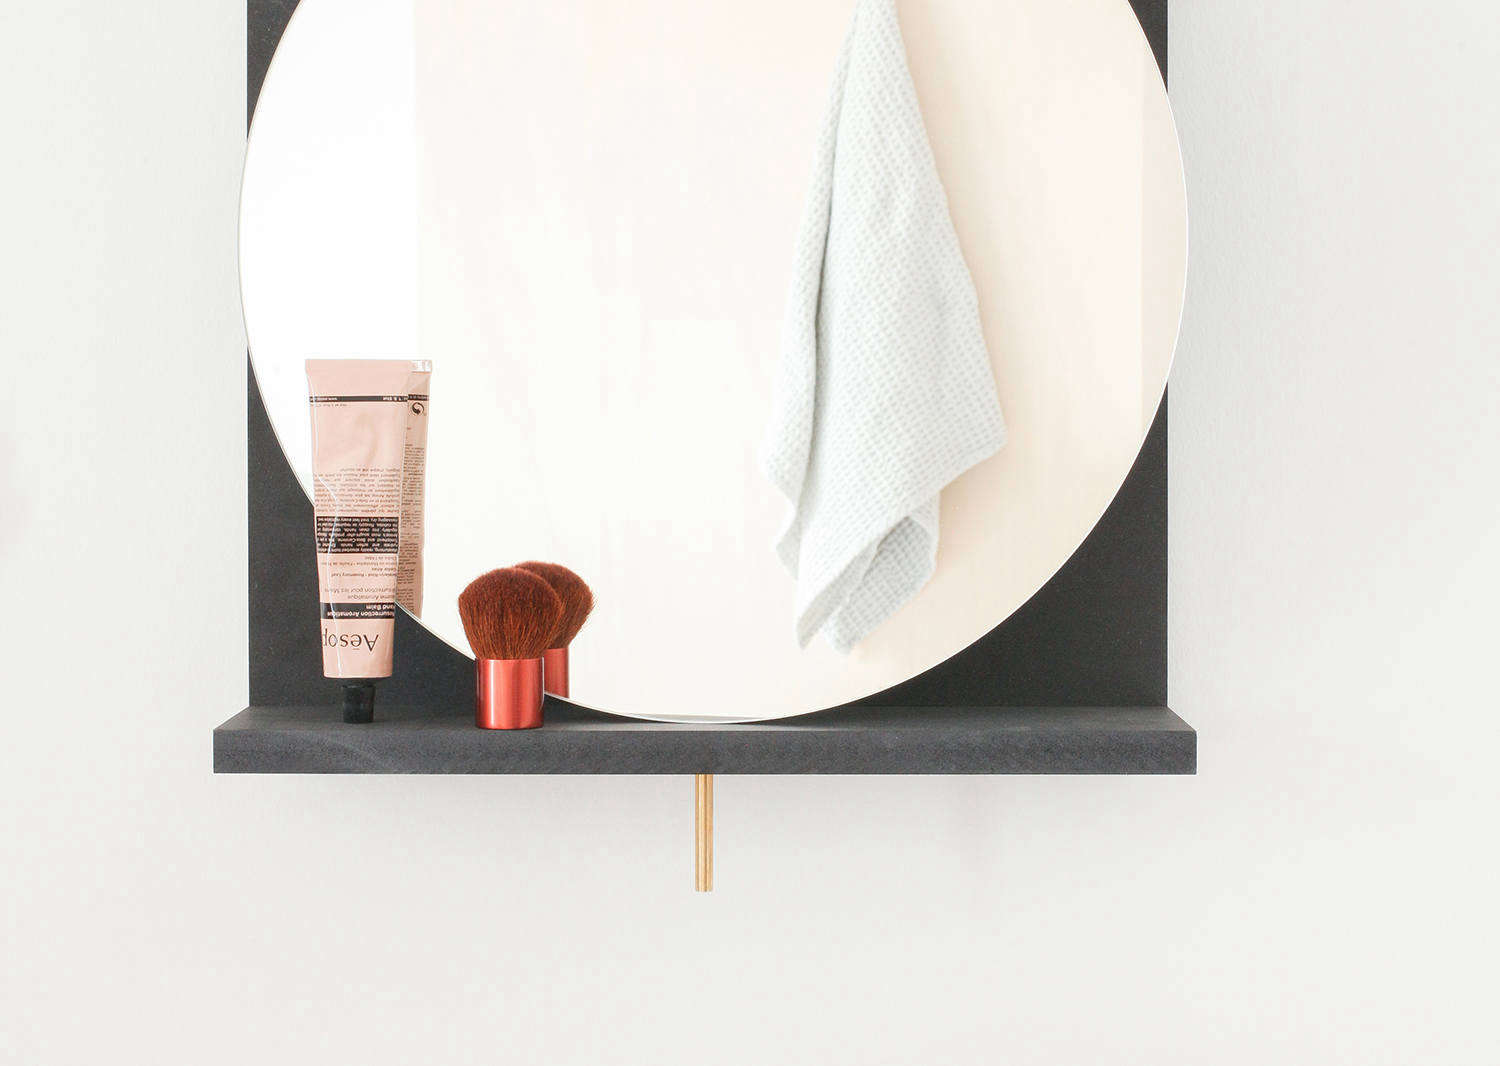
Hélène Pinaud and Julien Schwartzmann graduated from architecture school in Strasbourg in 2014 and promptly set up their own Paris firm, Heju. Operating out of their tiny garret apartment—we recently featured their $4,300 Kitchen Makeover—the couple became DIY experts out of necessity. They’re now so in-demand as architects that they they have less time to fiddle with scraps. But visits to Merlin Leroy, France’s version of Home Depot, occasionally lead to a new DIY. A recent project for their bathroom is this pivoting mirror that they describe as “a minimalist and geometric design inspired by Bauhaus shapes.” Hélène and Julien kindly agreed to explain how they put it together.
Photography by and courtesy of Heju.

Tools and Materials

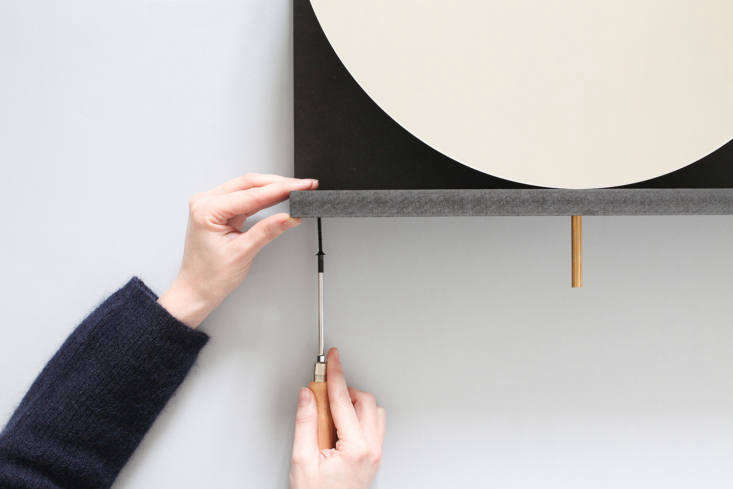
Instructions


The Finished Look

Explore our DIY Archive for many more projects, including these three by Heju:
- DIY: A Homemade Terrazzo Table
- DIY: A Summery Side Table and Plant Stand
- DIY: The Heju Brass Wall Organizer
And check out our Steal This Look: The Heju DIY Tiny Kitchen Makeover.

Have a Question or Comment About This Post?
Join the conversation