This DIY is a mixture of things I spotted on Remodelista: The Three Block Shop scarves hanging in the dining room at Ostrich Farm in Silverlake, Izabella’s post highlighting a printing technique that utilizes adhesive foam board and a block of wood, and Julie’s post on hanging wall art with metal binder clips.
I’d logged these ideas as attainable decor improvements to consider for my own apartment. And when I couldn’t stand looking at my bedroom’s bare walls another minute, I dug out some art supplies I already had and set out to create something to hang above the bed.
Above: Here’s a look at my barely dry prints. The project took a total of two hours, hanging time included.

Above: The foam board was the only thing I had to buy. The paint, paper, and brushes were left over from my days at art school. I had a woodblock lying around from the time I made a shoe rack on wheels. Because I wanted to spend next to nothing, I let the supplies that I had dictate what the design would be and found inspiration in a giclee print I discovered on Etsy. If you have some craft supplies lying around, feel free to improvise where you need to, but if you’d like replicate exactly what I did, see the materials list below.
Materials
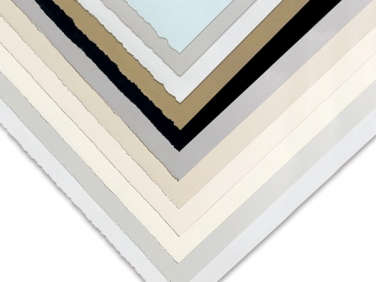
- Paper. I used two pieces of 22-by-30-inch Stonehenge Cotton Print-Making Paper, $2.66 apiece at Dick Blick.
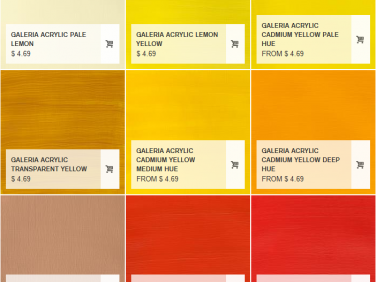
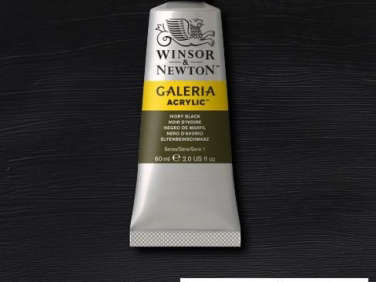
- Paint. For the black print, I used Black Ivory acrylic paint from Windsor & Newton, $4.69 for two ounces. The colored swatches are a mix of a few different Windsor & Newton acrylic colors.
- Brushes
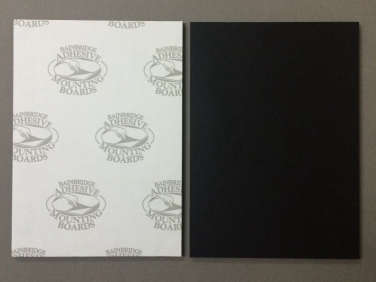
- Self-adhesive foam board; $19.99 on Amazon
- X-Acto knife
- Ruler
- Cutting mat
- Metal binder clips, available from any office supply store
- Hammer and nails
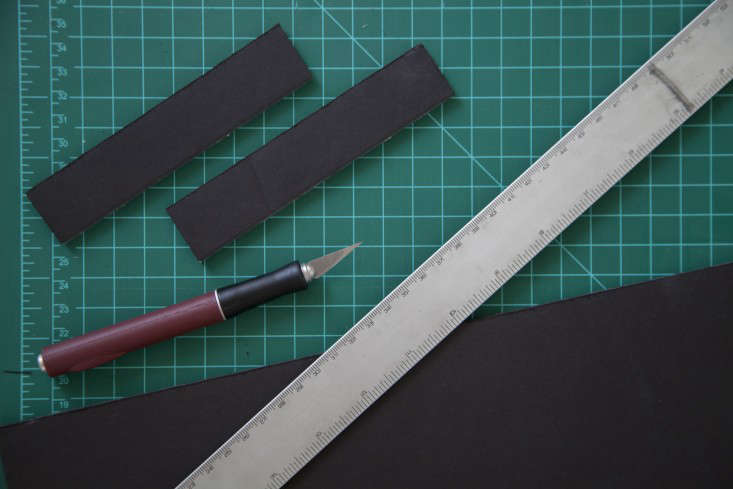
Above: Before beginning, I measured my piece of paper and scrap wood. I found that I could neatly fit five narrow rectangles measuring one by five inches on my piece of wood. I carefully cut each piece of the form core using an X-Acto knife, cutting mat, and ruler.

Above: Next, I peeled back the adhesive cover and attached the rectangles to the wooden block.

Above: With a foam brush, I applied black acrylic paint to my block. I tested the print on a spare piece of kraft paper before applying it to my canvas.

Above: I reapplied paint after every two stamps and printed until the page was full.

Above: After adding a spearmint rectangle, I hung the print near a window to dry.

Above: I repeated the process and made a second print with a pale yellow swatch as a complement to the spearmint.

Above: I used a single nail and binder clip to hang each print.
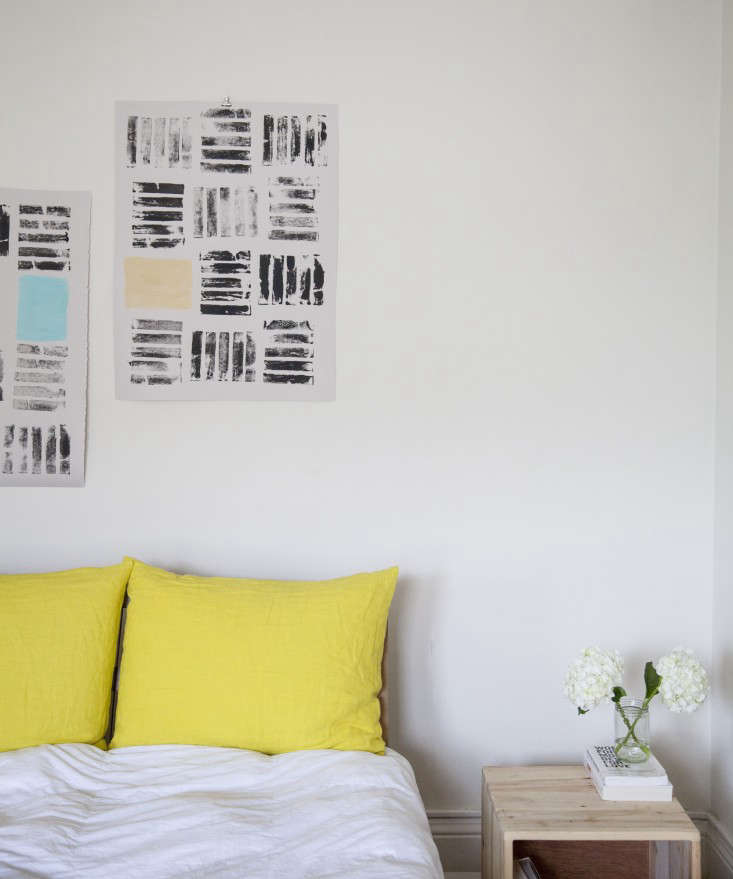
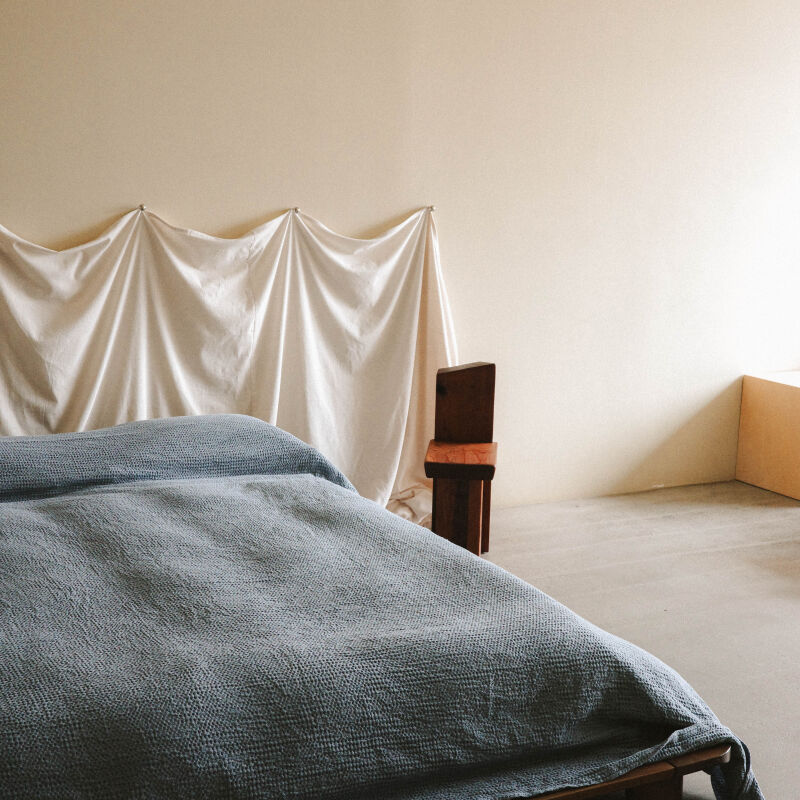
The Finished Project

Above: The finished art hangs above my bed. The project proved to be a cost-conscious way for me to incorporate a hint of flair and color to my space.
On the hunt for more DIY wall art ideas? See DIY: An Economical Wallpaper Alternative and Zero-Cost Wall Art: Pinboard, Edition.


Have a Question or Comment About This Post?
Join the conversation