
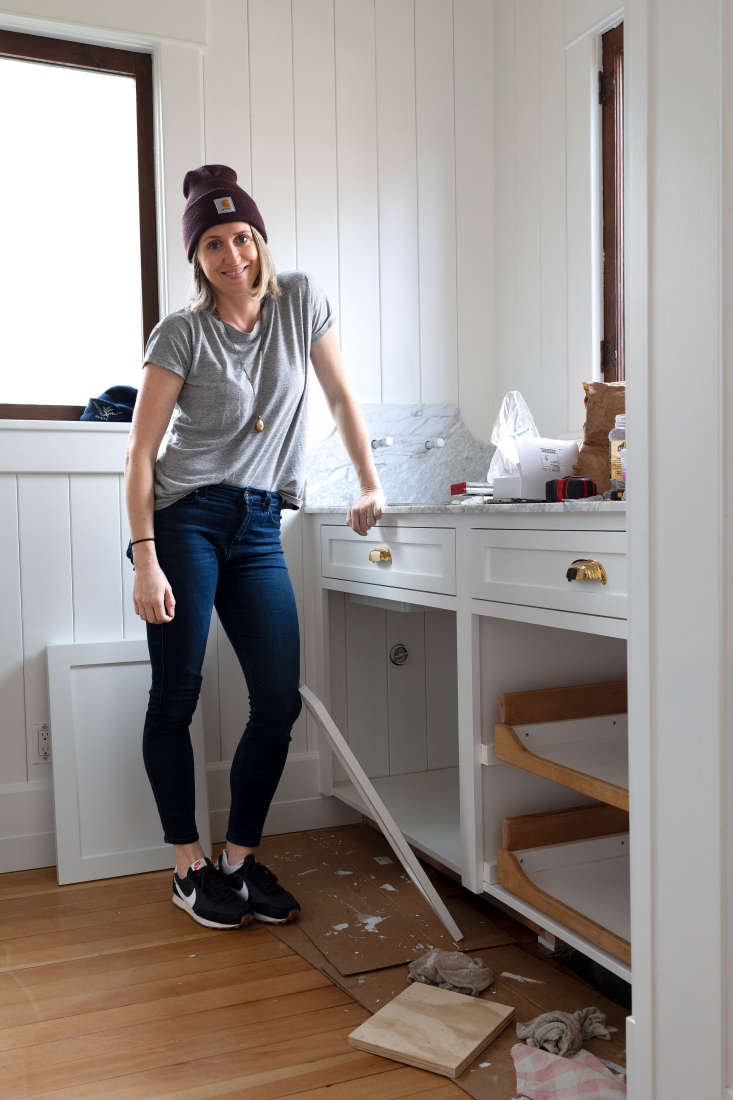
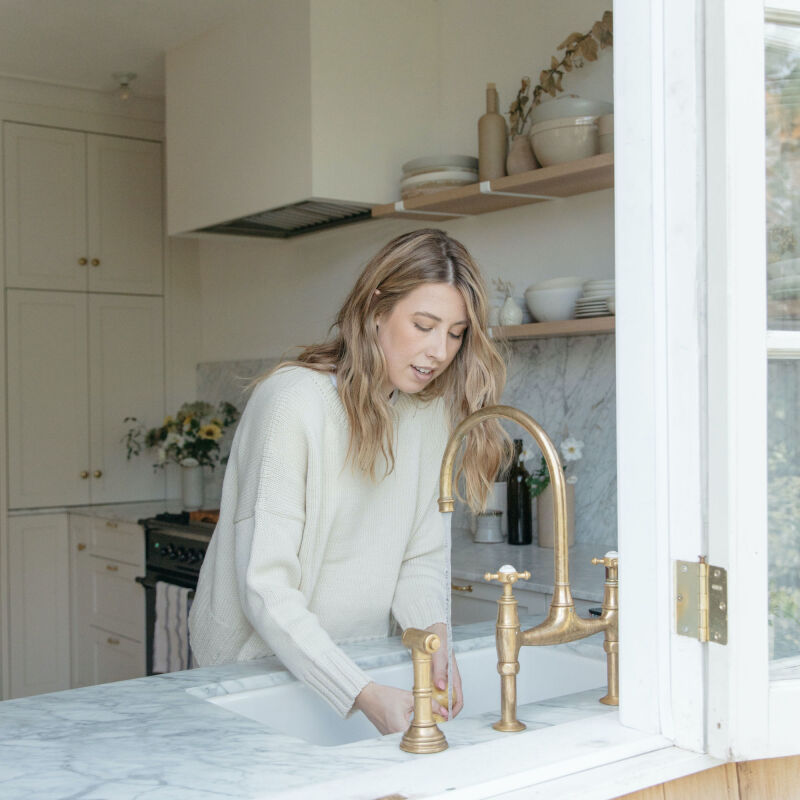
Cathy and Garrett Poshusta live in a farmhouse in Ellensburg, Washington, and, since 2014, have been chronicling their renovations on their own home and rental properties in their blog, The Grit and Polish. While juggling parenting three young kids, Cathy and Garrett do things like paint their pantry cabinets in a weekend. Their can-do comes from hands-on experience: “the farmhouse is the ninth kitchen with cabinets that we’ve painted,” says Cathy, “and with each, we’ve learned a lot.” They kindly agreed to share some of their tips with us. And for more details, go to their own tutorial.
Photography courtesy of The Grit and The Polish.
Materials
- primer: Cathy and Garrett used Zinsser Bulls Eye 123 Water-Base Primer because it’s what they had on hand; they recommend getting advice at the paint store on how best to cover the surface in question.
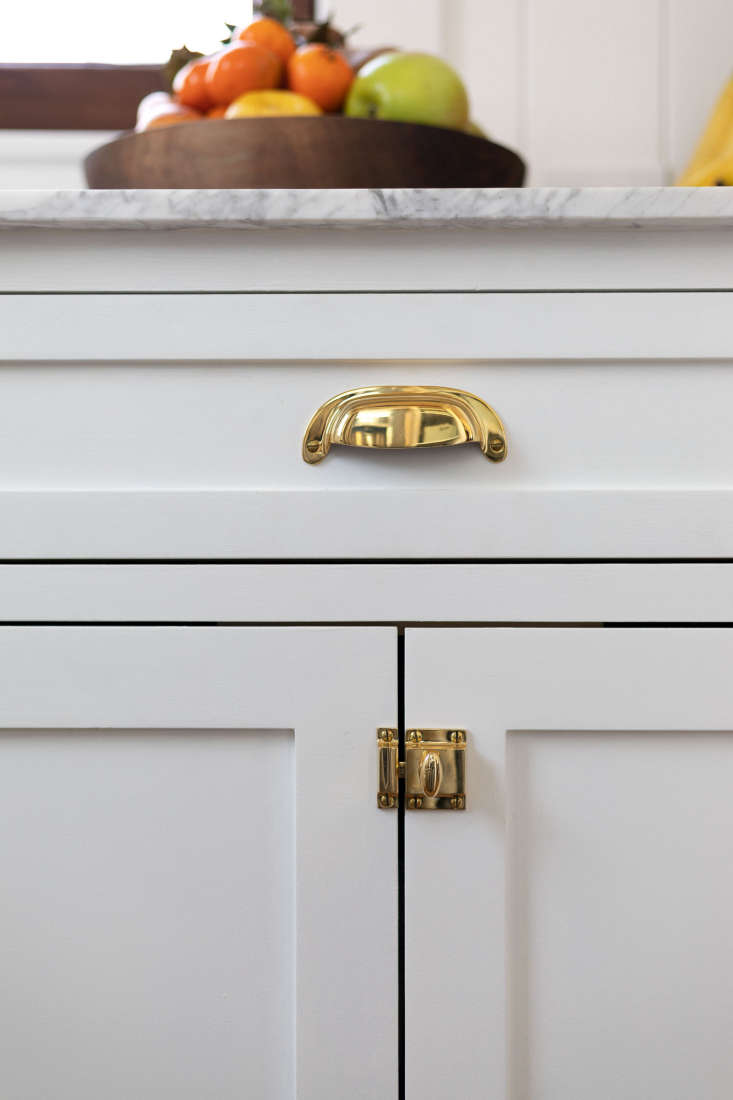
- paint: The Poshusta’s used Benjamin Moore Advance in Simply White.
- small detail brush
- smooth-grit sandpaper (150 or above)
- smooth nap roller and roller tray or wide brush (it’s a matter of preference: the roller leaves a slight texture; the brush leaves brush marks)
Step 1: Prep
Remove the cabinet doors and drawer fronts—and free them of any hardware. If painting already painted or wood-finish cabinets, clean them well and then sand them: “we usually take the door and drawer fronts outside, put on a mask, and lightly sand them with a palm sander [a hand-sized cordless sander],” explains Cathy. “We lightly sand the cabinet boxes in place. The goal is to scuff the existing surface, NOT remove it. This will allow the primer to adhere better.”

In this case, the couple were starting from scratch: Garret built their kitchen and pantry cabinet boxes and used Shaker fronts, shown here, from Fast Cabinet Doors.
Step 2: Prime

Step 3: Paint


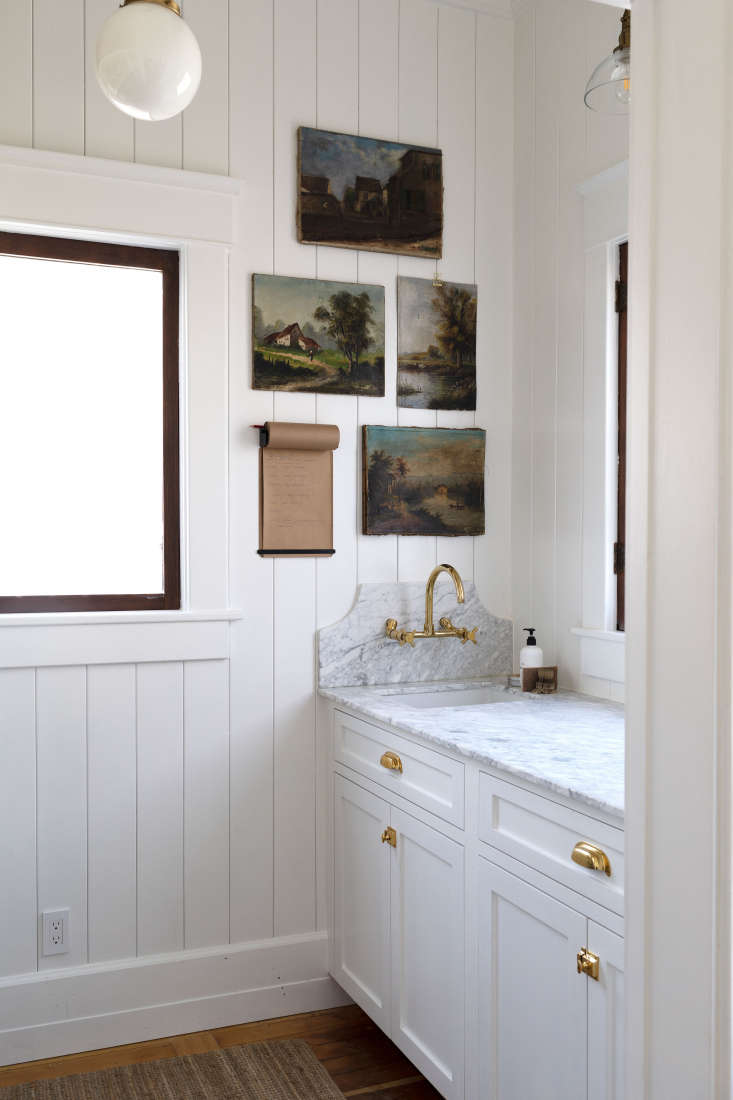
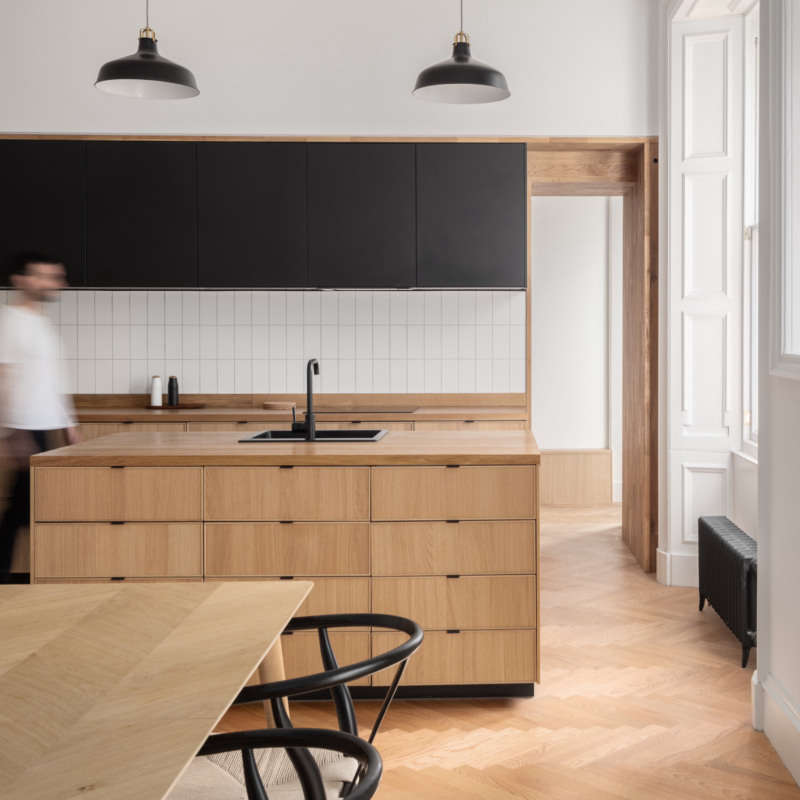
Note that the couple used a paint sprayer on their kitchen cabinets shown here in the background—”when done properly, spraying gives a next-level finish.” But for the adjoining pantry, they went with paint brushes and rollers for a more textured and handmade look. “Spraying cabinets is great when you have the time, energy, and space to set up for spraying,” says Cathy. “But many times we’ve found it’s a lot easier to hand paint them.”
Step 4: Install


The Finished Cabinets
More painting advice:
- How to Paint Kitchen Cabinets: 5 Tips from a Master Painter
- Expert Advice: How to Choose Paint Like a Pro
- Remodelista’s Greatest Hits: 10 Things Nobody Tells You About Painting Furniture
- Five Insider Secrets to Using a Paint Roller
Have a Question or Comment About This Post?
Join the conversation