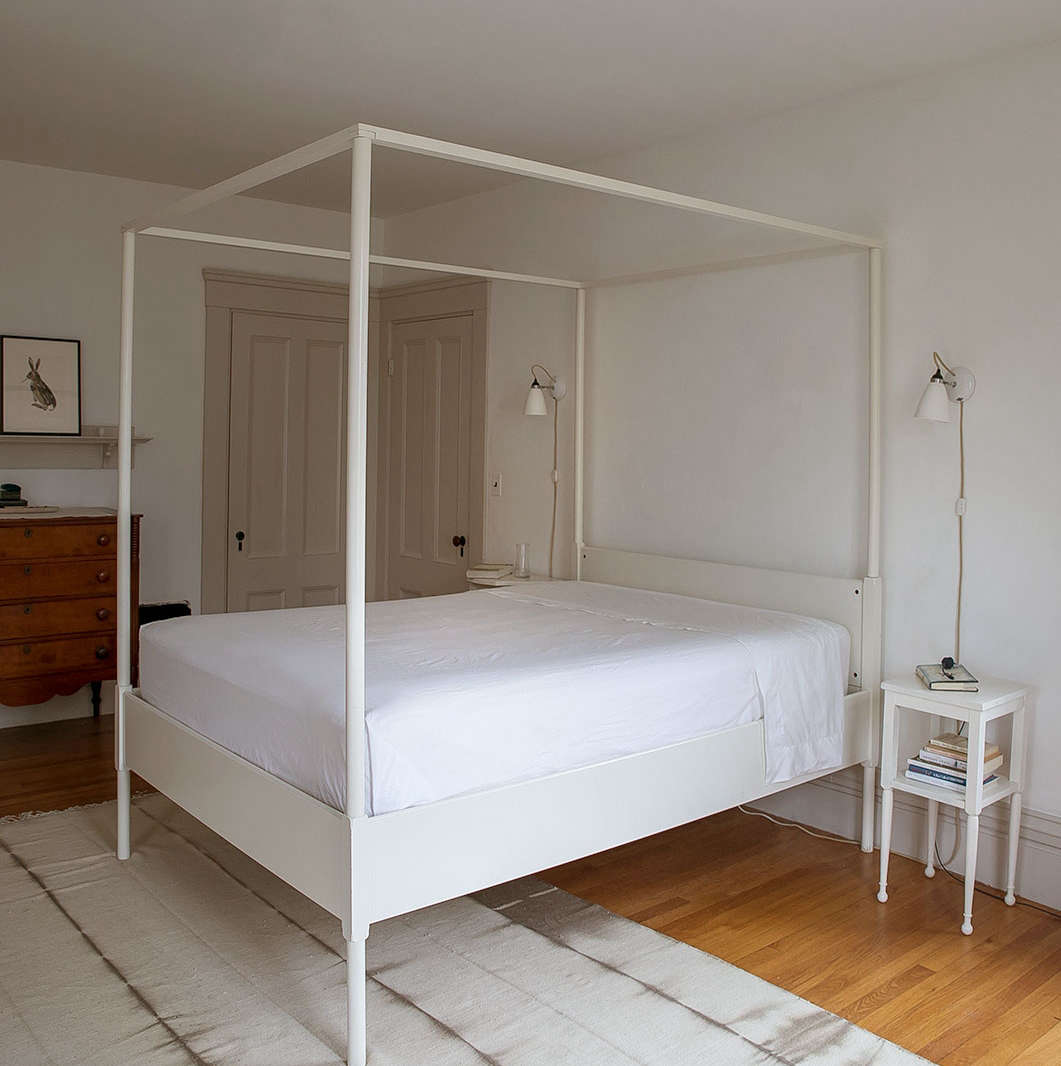
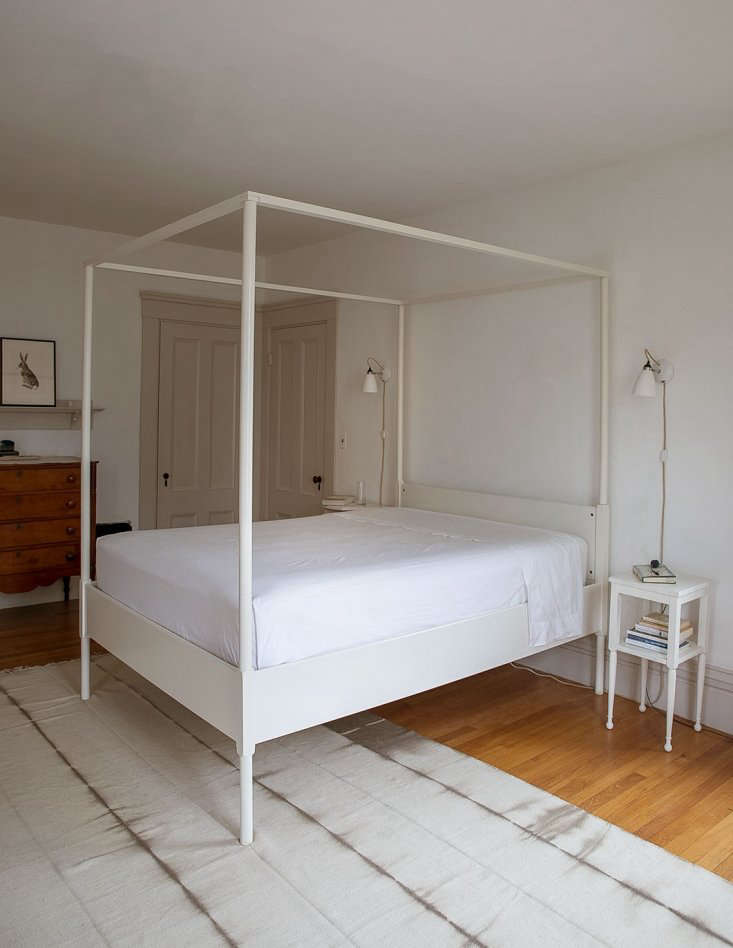
We at Remodelista are on a mission to resurrect the lost art of the well-made bed. Lesson one: square corners (sometimes known as hospital corners when the fold is diagonal).
My grandfather, a WWII vet, taught me all I know about bed-making, including proper square corners. My favorite part of helping him was testing his regulation-tight tuck by bouncing a quarter off the bed. Now, though I prefer a slightly more relaxed tuck, I’m no less fastidious.
Here is my grandfather’s technique for making square corners.
1. Position the sheet.

Before you tuck anything in, it’s important to know how much sheet you will be tucking in. You definitely don’t want to perform this whole tuck exercise only to find that you’ve left too little or too much sheet at the head of the bed. So first:
- Center the top sheet over your bed.
- Fold down the top sheet to desired width.
Note: Since most sheet sets now come with a fitted bottom sheet, this tutorial only deals with the top sheet. However, if your bottom sheet is not fitted, simply apply our square-corner directions to all four corners of the bottom sheet.
2. Tuck in the end at the foot of the bed so that it is tight and smooth.

- Lift one corner of the mattress.
- Starting at the bottom center of the mattress, use the palm of your free hand to sweep the corner of the sheet under the mattress, creating a tight and smooth fold.
- Repeat on the next side.
3. Grab the bottom edge of the sheet and fold it up.


- Note where the tucked part of the sheet hangs lower than the untucked part. (See image at left above.)
- At the point where the tucked part ends, or about 18 inches from the end of the bed, lift the hem of the untucked length of sheet to create a crease along the top edge of the mattress, as in the image at right above.
4. Tuck in the lower drape.

- Holding the top of this fold with one hand, use the other to securely tuck the bottom flap under the mattress. Sweep the sheet under and toward the center.
- Repeat until you have a seamless tuck around the corner of the mattress.
5. Fold over and tuck the top drape.

- Using one hand to maintain the fold along the side of the mattress, release the top drape. For square corners, the crease should fall neatly along the corner of the mattress. For hospital corners, fold this flap along a 45 degree angle.
- Tuck this final flap under the mattress.
6. Repeat on the other side.


More expert advice on the well-made bed:
- Pillow Talk: 7 Secrets to Making a Perfect Bed
- Linen Logic: 20 Tips for Taking Care of Your Bedding
- Domestic Science: How to Clean a Mattress
Frequently asked questions
What are hospital corners?
Hospital corners are a specific technique used to create a clean and tidy bed with a neat folded edge at the corners.
Why are they called hospital corners?
The technique is called hospital corners because it was traditionally used in hospital beds to ensure that sheets were tucked in tightly and wouldn't come loose.
Does making hospital corners require special skills or tools?
No, making hospital corners doesn't require any special skills or tools. It just needs a bit of practice and patience.
What is the benefit of making hospital corners?
Making hospital corners creates a neat and tidy look for your bed and also keeps the sheets tight and snug, preventing them from coming loose during the night.
How do you make hospital corners?
To make hospital corners, follow these steps: 1) Tuck in the bottom sheet at the foot of the bed, 2) Pull the sheet out from under the mattress at the foot of the bed to create a triangle, 3) Tuck the triangle under the mattress, 4) Smooth the sheet on either side of the triangle, 5) Fold the sheet that is hanging over the side of the bed on top of the triangle, 6) Tuck in the sides of the sheet.
Is it necessary to make hospital corners every time you make your bed?
No, it's not necessary to make hospital corners every time you make your bed. It's a personal preference and depends on how tidy you want your bed to look.


Have a Question or Comment About This Post?
Join the conversation