Block prints are far from new, but they’re certainly having a moment.
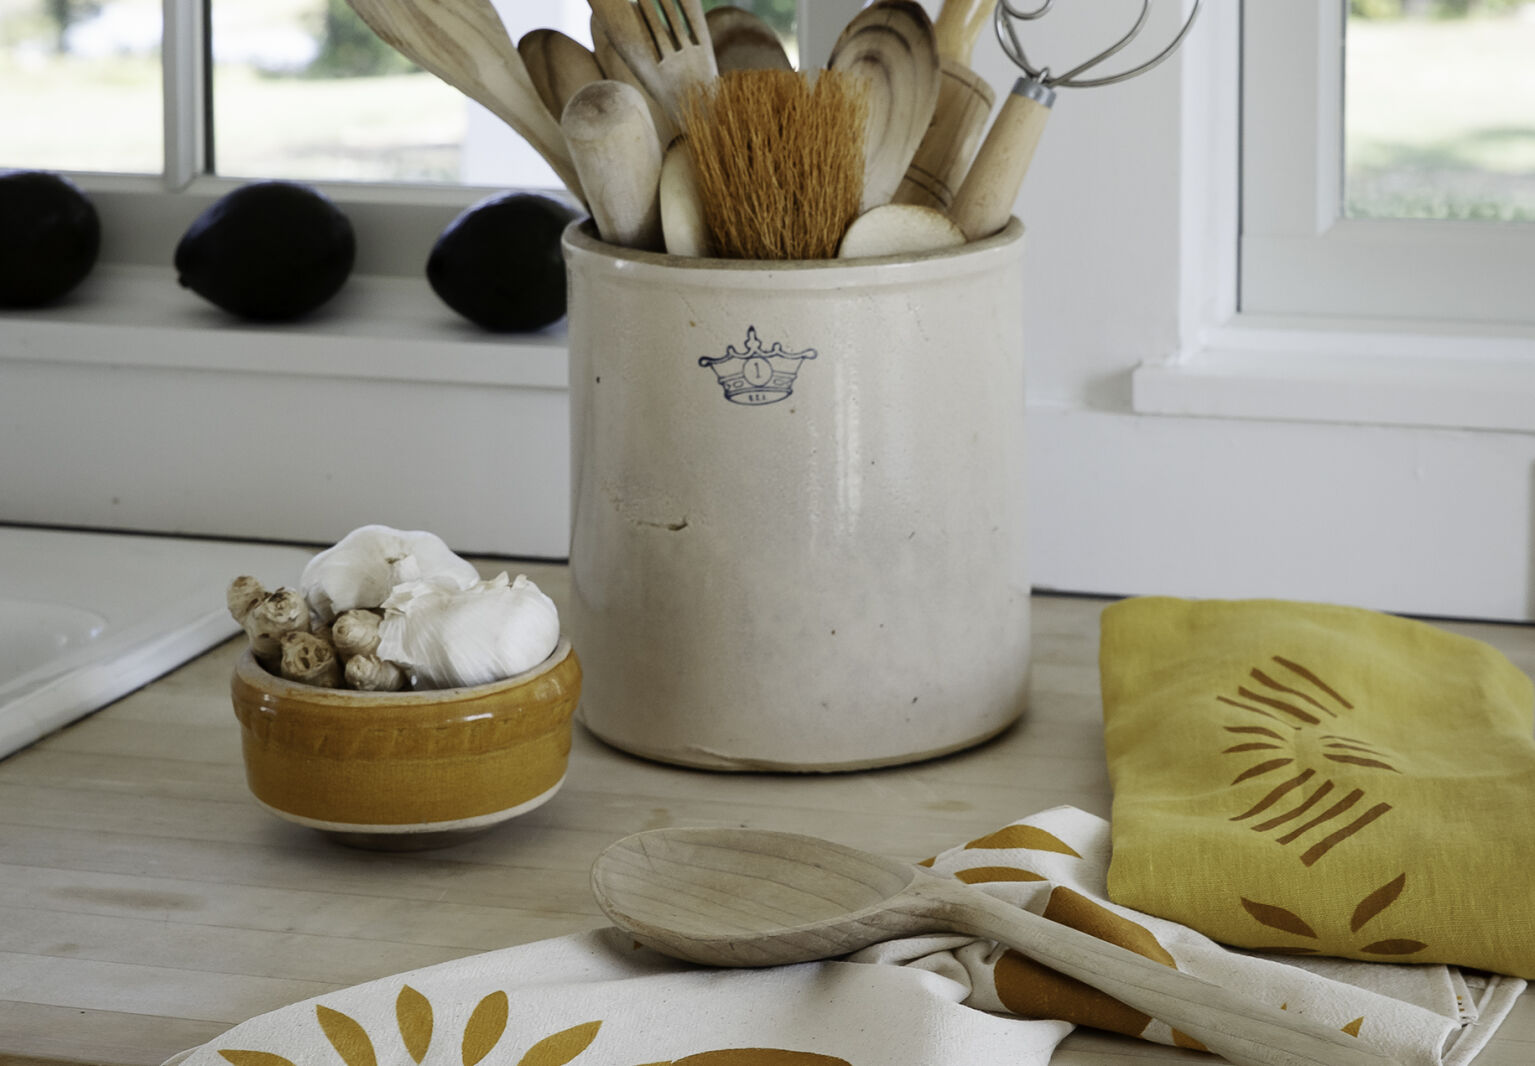
For an old-meets-modern take, take a page out of the summer section of our new(ish) book, Remodelista in Maine. Inspired by classic New England folk artists like Moses Eaton, whose whimsical motifs decorated the walls of many a Northeast farmhouse, our own Justine Hand created a modernized, tone-on-tone block-print tea towel. The designs work on kitchen linens, napkins, lampshades, shams… and make a charming host gift, too.
Here’s Justine’s DIY:
Supplies
- Cotton or linen tea towel, washed and ironed
- Masking or painter’s tape
- Stencil adhesive
- Moses Eaton stencil (available from mbhistoricdecor.com)
- Textile paint
- Shallow dish for paint
- Large flat-tipped paintbrush or sponge
- Paper towel
- Iron
Step 1

Step 2

Step 3

The Finished Product

For more, see pg. 58-59 of Remodelista in Maine (and page through for DIY projects for every season).
Plus, more DIYs from our archives:
- DIY: Pleated Lampshades (With Embroidered Surprises), Budget Edition
- DIY: A Leather-Detailed Wooden Doorstop
- DIY: Easy Ceramic Votive Holders for a Festive Table
Frequently asked questions
What are the materials required for DIY modern block print tea towels?
The materials required for DIY modern block print tea towels are fabric (preferably 100% cotton), wooden block stamp, fabric paint, textile medium, foam brush, ruler, pencil, paper plate, iron, and tea towels.
Where can I find the wooden block stamp for this project?
You can find wooden block stamps for block printing at craft stores, art supply stores, or online marketplaces like Amazon or Etsy.
What type of fabric paint should I use for this project?
For this project, it is recommended to use fabric paint that is specifically designed for block printing. These paints are usually water-based and offer good adhesion to fabric.
What is textile medium and why is it needed?
Textile medium is a clear liquid that is mixed with fabric paint to make it suitable for block printing. It helps to improve the paint's consistency, make it more workable, and ensure better adhesion to fabric.
How can I create my own block design?
To create your own block design, you can start by sketching your desired pattern on a piece of paper. Once satisfied, transfer the design onto the wooden block using a pencil and ruler. You can also find pre-designed blocks or stamps if you prefer not to create your own design.
Can I reuse the wooden block stamp for future projects?
Yes, you can definitely reuse the wooden block stamp for future projects. Clean the block thoroughly after each use by rinsing it with water or wiping it with a damp cloth. Make sure the block is completely dry before storing it to avoid any damage.
How should I care for the finished tea towels?
To care for the finished tea towels, allow the paint to fully cure (follow instructions on the fabric paint label) before washing them. After curing, hand wash the towels using mild detergent in cool water. Avoid using bleach or harsh chemicals and do not tumble dry. Iron the towels on a low setting if needed.
Can I use this block printing technique on other fabric items?
Yes, you can use this block printing technique on other fabric items such as napkins, tablecloths, tote bags, or even clothing. Just make sure to choose the appropriate fabric paint and follow the same process described in the tutorial.

Have a Question or Comment About This Post?
Join the conversation