A few weeks back, Michelle overhauled her mini potting shed with a coat of chalkboard paint and praised its power as an organizational tool (see A New Use for Chalkboard Paint: Toolshed Makeover, Garden Edition for more). Her ingenuity got us thinking: What other kinds of specialty paints are out there, and what DIY projects can we use them for? We did some research, then found chalk, chalkboard, whiteboard, and magnetic paints and put them to the test. Read on for the details.
Photography by Leslie Santarina for Remodelista.
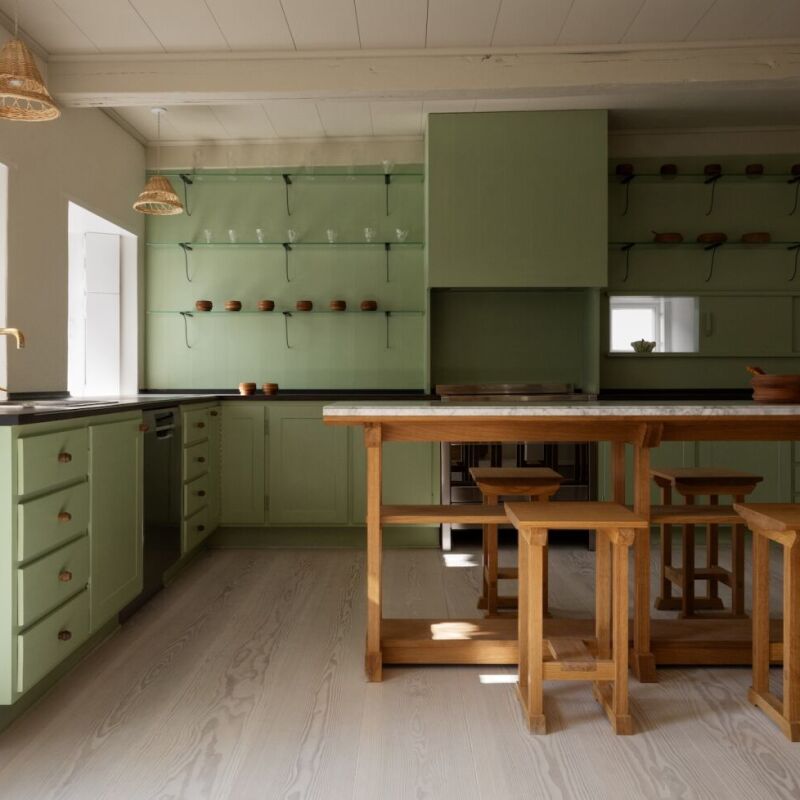
Chalk Paint
Not to be confused with the chalkboard paint mentioned above, chalk paint is an ultra-matte paint that gives a chalklike finish. It’s sometimes called “chalked” or “chalky” paint and is most often used as one ingredient in the process of giving furniture a distressed, vintage look—but it can also be used alone to achieve a matte, velvety finish.

How do I prepare the surface before using chalk paint?
Chalk paints adhere well, so a primer generally isn’t needed. Chalk paint manufacturer Americana Décor insists “no stripping, sanding, or priming is needed.” The surface of whatever you’re painting should be clean and dry; if it’s rough, you can sand it down a bit. If your piece has a dark stain, it’s possible that the stain will bleed through. If you think this might be the case, test a small patch to see before you paint the whole piece and apply a sealer if it looks like there’ll be a problem.
How do I apply chalk paint?
You can use a brush or roller to apply chalk paint (some brands even come in an aerosol can for easy application). Most chalk paint requires only one coat, though you can apply more, depending on the look you’re going for. Chalk paint dries quickly so you’ll only need 30 minutes between coats. Since chalk paint is water-based, cleanup is easy.
What surfaces can I use it on?
Chalk paint will stick to virtually any surface. In addition to wood, Rust-Oleum says their Chalked Ultra Matte paint can be applied to ceramic, metal, canvas, glass, and more.
How do I get the distressed look?
After applying the paint, wait about 30 minutes, then simply wipe portions of the surface with a damp rag until you’re pleased with the look. If the top coat isn’t coming off well (you probably waited too long), try fine-grit sandpaper. If you want to get fancy, you can layer several colors of paint, and distress parts of the top layer so the colors below peek through.
Do I need to add a finish?
It’s not necessary, but it will help protect the surface. Try a cream wax (reapply it regularly if the item is heavily used) or a matte varnish for a more durable finish.
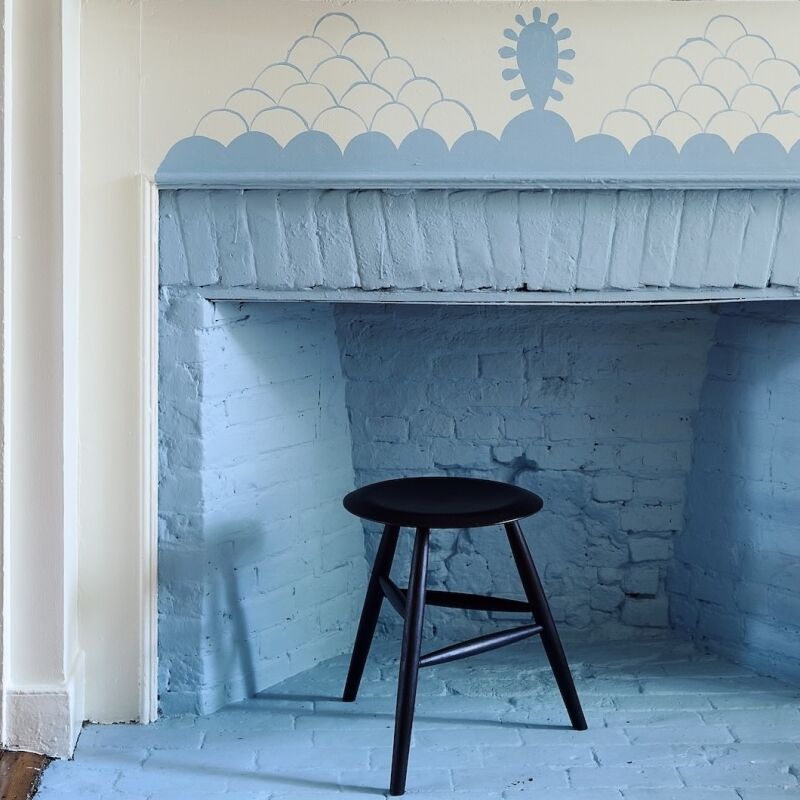
Chalkboard Paint
Chalkboard paint turns any flat surface into an instant chalkboard. Rust-Oleum makes this matte paint in classic black and green, but also offers clear chalkboard paint, as well as one that can be tinted in 12 different colors. Other brands, like Colorhouse, make the paint in a range of colors.

How do I prepare the surface before using chalkboard paint?
Most people apply chalkboard paint to a portion of wall, a door, or a piece of wood or paneling. If you’re painting on plaster or drywall, make sure the wall is clean and free of dust. You’ll get the best results with a very smooth surface, so fill in any holes or cracks and sand it down lightly before you start (being sure to dust off any residue). Then, if necessary, use painter’s tape to frame the area you’re planning to cover. Some people like to apply a coat of primer, but if the surface is in good condition it’s generally not required. Chalkboard paint will also adhere to metal, glass, concrete, and unglazed ceramic, but be sure to check the manufacturer’s instructions for the brand you’re using as some of these surfaces will require priming.
How do I apply chalkboard paint?
Using chalkboard paint is much like painting a wall with any other paint. Don’t stir the paint too vigorously before you start; it prefers a gentle touch. Use a roller if you’re covering a large area; otherwise a brush will do. Note that it may take several coats to get full coverage and the paint will need to dry for at least two days before you can write on your chalkboard. Like chalk paint, chalkboard paint is water-based, which makes cleanup easy.
What can I do with my homemade chalkboard?
Beyond the obvious uses—as a place to jot down reminders or a spot where kids can draw on the walls—we like the idea of painting pantry jar lids to identify what’s inside, creating chalkboard patches on terracotta pots to identify the seeds you planted, and (of course) painting a pegboard and outlining designated spaces for tools.
Whiteboard Paint
Like chalkboard paint, whiteboard paint transforms any surface into a custom whiteboard (also called a dry-erase board). The paint hardens to a glossy white surface that you can write on using special dry-erase markers. This paint is a popular choice for offices, but you can also use it at home for grocery lists, kids’ schedules, vacation countdown calendars, and more.

How do I prepare the surface before using whiteboard paint?
If you’re applying the paint to light-colored drywall, you don’t need primer—just make sure the wall is smooth, clean, and dry. To paint over a dark or unfinished surface, apply primer first. Use painter’s tape to frame the area you want to cover. Whiteboard paint can also be used on wood, cement, and metal.
How do I apply whiteboard paint?
Be sure to follow instructions: With most brands, such as Rust-Oleum’s latex-based kit used here, the paint comes in two parts that need to be combined before using: Stir the components separately first, then mix thoroughly and use the paint right away. (Some other brands, like WriteyBoard, don’t need mixing.) Apply the paint with either a foam roller or foam brush. It will likely require multiple coats: at least two if you’re covering a light-colored surface; more for a dark surface. It’s very thick and will go on unevenly—but let it rest and it will eventually even itself out. Do not test the surface to check for dryness before the manufacturer’s recommended drying time has passed—unlike regular paint, touching this surface before it has cured will leave a permanent mark. Once the surface has finally cured, you can peel away the painter’s tape.
How do I use my homemade whiteboard?
Be sure to use only dry-erase markers—keep indelible markers well away. You can remove your dry-erase markings by wiping with a soft cloth. If you get marks that won’t disappear, use a dry-erase cleaner, not an abrasive cleanser or cloth.
Magnetic Paint
Magnetic paint is a primer with tiny iron particles mixed in. You can apply it to any wall, or to a wood or masonry surface. The primer is black, but you can add a latex topcoat in a color of your choice or paint over it with whiteboard or chalkboard paint for a dual-use board.

How do I prepare the surface before using magnetic paint?
No special preparation is needed, but a smooth surface works best, and it should be clean and dry. Use painter’s tape to frame the area you want to cover.
How do I apply magnetic paint?
Magnetic paint must be stirred extremely well before using, to make sure the iron dust is evenly distributed. Some customers recommend getting it mixed at the store when you buy it, and then using it as soon as you get home—continuing to mix as you paint.
To apply the paint, use a high-density foam roller or brush, being sure to spread it evenly. Applying multiple coats improves the surface’s ability to hold a magnet; allow about 30 minutes between coats. This is an oil-based paint that requires mineral spirits for cleanup.
You’ll need to let the magnetic paint dry for at least two hours before adding a latex topcoat (if desired). If you are using a topcoat, stick to one or two coats as too many layers will affect the magnetic grip. Allow the top coat to dry for two days before you start using your magnetic board.
How do I use my magnetic board?
Use it to display photos, memos, calendar pages—nothing too heavy. Rare earth magnets that are both strong and lightweight work best on this surface.
For more ways to transform a space using paint, see our posts:
- DIY: Vintage-Looking Mercury Glass Pendant Lights for $25
- Expert Advice: Three No-Fail Color Palettes for Walls, Ceiling, and Trim
- A New Use for Chalkboard Paint: Toolshed Makeover, Garden Edition