Icon - Arrow LeftAn icon we use to indicate a rightwards action. Icon - Arrow RightAn icon we use to indicate a leftwards action. Icon - External LinkAn icon we use to indicate a button link is external. Icon - MessageThe icon we use to represent an email action. Icon - Down ChevronUsed to indicate a dropdown. Icon - CloseUsed to indicate a close action. Icon - Dropdown ArrowUsed to indicate a dropdown. Icon - Location PinUsed to showcase a location on a map. Icon - Zoom OutUsed to indicate a zoom out action on a map. Icon - Zoom InUsed to indicate a zoom in action on a map. Icon - SearchUsed to indicate a search action. Icon - EmailUsed to indicate an emai action. Icon - FacebookFacebooks brand mark for use in social sharing icons. flipboard Icon - InstagramInstagrams brand mark for use in social sharing icons. Icon - PinterestPinterests brand mark for use in social sharing icons. Icon - TwitterTwitters brand mark for use in social sharing icons. Icon - Check MarkA check mark for checkbox buttons.
You are reading

Glitz-Free Glam: Scandi-Inspired DIY Holiday Decor from David Stark

Search

Glitz-Free Glam: Scandi-Inspired DIY Holiday Decor from David Stark

December 18, 2019

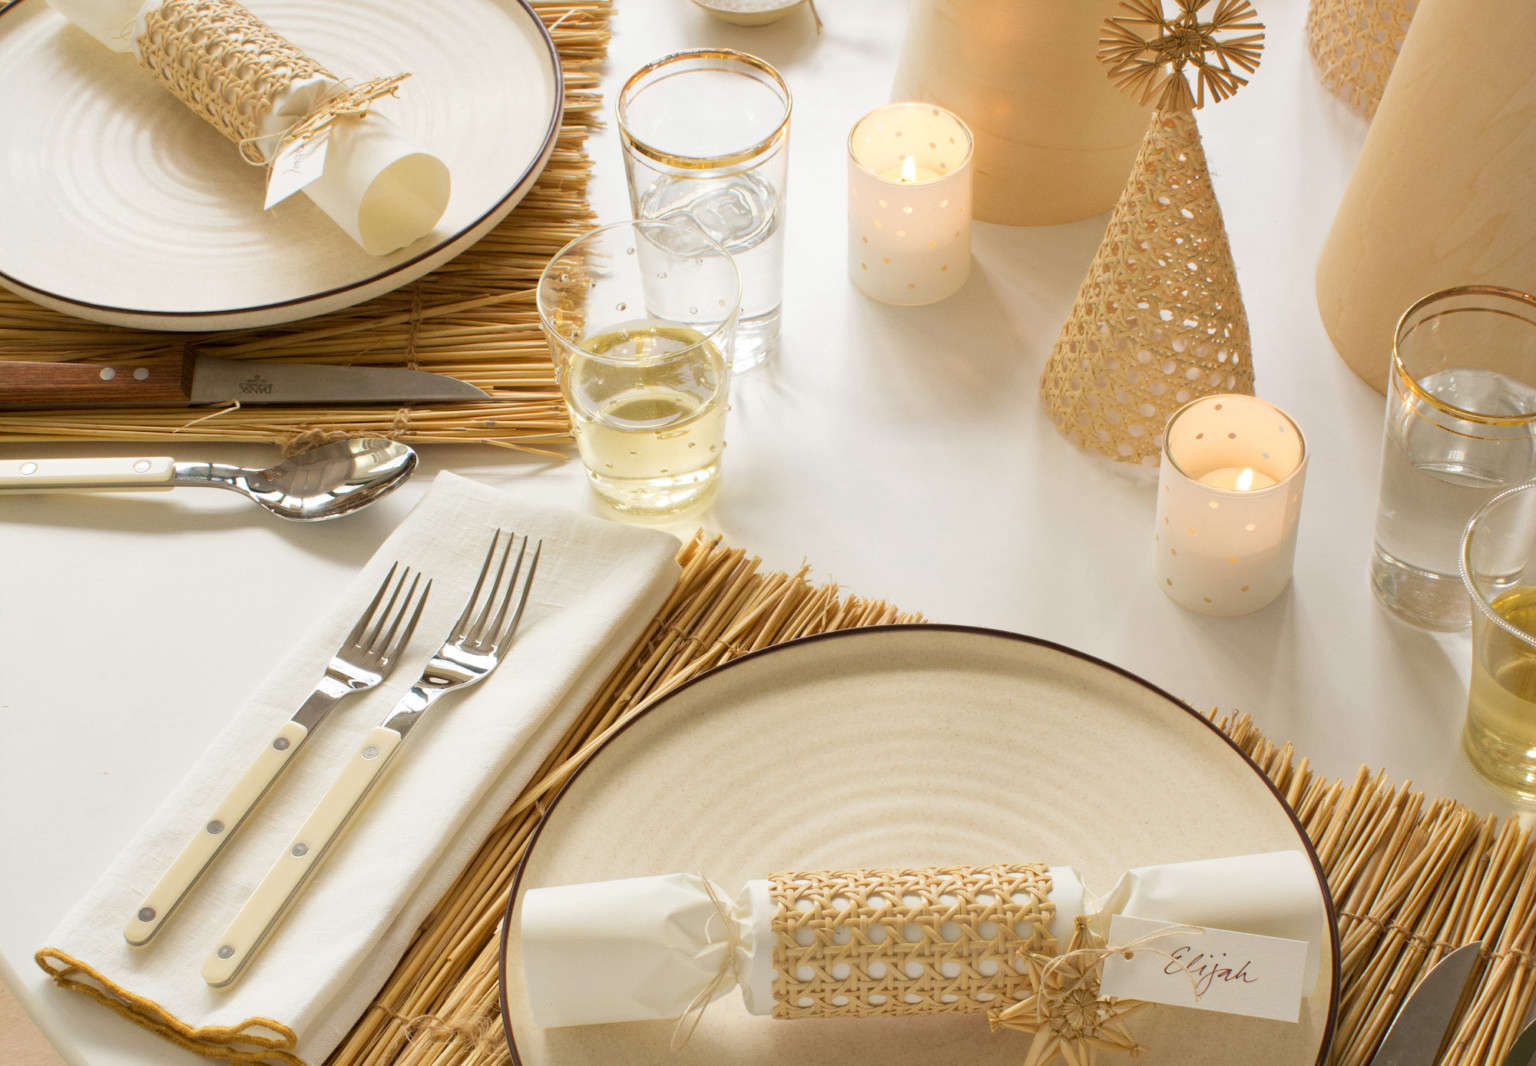
One of our favorite holiday traditions here at Remodelista? Having event designer David Stark dream up some chic and easy-to-make holiday decor for us. This year, he and his team shared DIY projects inspired by a “modern and naturalist-chic” aesthetic that takes cues “from on-trend basketry materials such as rattan, cane, rope, and twine.”

“While most people default to glitter and sparkle for holiday decor, we asked ourselves what festive would look like if we focused solely on natural materials,” he tells us. “Inspired by traditional Scandinavian straw ornaments, we conclude that you don’t have to the lose the magic of the season by evicting glitz from the palette.”

Ready to learn how to capture the magic of this beautiful tablescape? Read on for David’s easy DIYs.

Photography by Corrie Hogg, courtesy of David Stark Design.

despite a neutral palette, this winter wonderland tablescape sparkles. 17
Above: Despite a neutral palette, this winter wonderland tablescape sparkles.
a diy party popper (also known as a christmas cracker) adorns each place settin 18
Above: A DIY party popper (also known as a Christmas cracker) adorns each place setting.

What You’ll Need

the key to making a natural, quiet palette pop is to work in different textures. 19
Above: The key to making a natural, quiet palette pop is to work in different textures.

How to Make the Trees

&#8\2\20;we made patterns for the cone shapes using this handy online templ 20
Above: “We made patterns for the cone shapes using this handy online template generator. But it’s also a breeze to draw out a wide triangle with a curved bottom edge. Cut out the shapes (add a bit extra to one side for the overlap). Roll the material into a cone. Hold in place with clothes pins or clamps and secure with hot glue.”
&#8\2\20;you may need another set of hands for the caning, it needs to be c 21
Above: “You may need another set of hands for the caning, it needs to be convinced to stay in place as the glue dries. (We advise to use low-temp hot glue – don’t burn yourself!) Add a dot of hot glue to the top to finish off with an ornament.”

How to Make the Party Poppers

&#8\2\20;we made our party poppers from scratch, but one could easily purch 22
Above: “We made our party poppers from scratch, but one could easily purchase them already made and simply decorate them as we have. We added a band of caning, straw ornament, and name tag to each.”
fill each popper with small treasures. david and his team filled theirs with di 23
Above: Fill each popper with small treasures. David and his team filled theirs with DIY snowmen made from hot-glued wooden beads. The eyes, nose, and buttons were drawn with markers.

How to Make the Pendant

&#8\2\20;simply tie the ornaments to your lamp using twine or monofilament. 24
Above: “Simply tie the ornaments to your lamp using twine or monofilament. Paper and straw ornaments (as we’ve done) are lightweight and therefore easy to fearlessly add to any chandelier.”

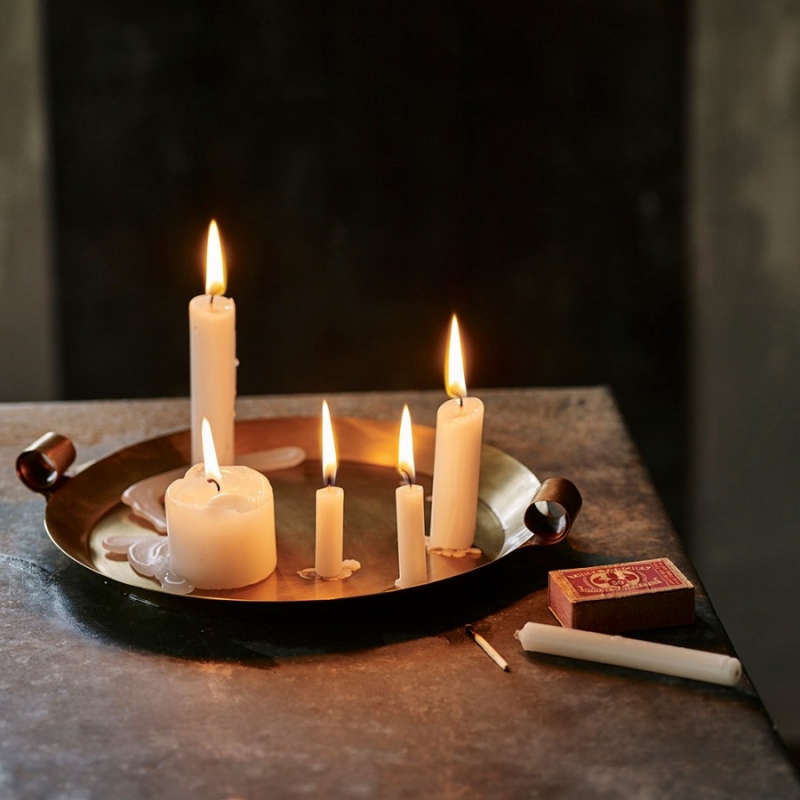
How to Make the Votives

&#8\2\20;for these, we cut strips of paper to size and used our \1/8 inch h 25
Above: “For these, we cut strips of paper to size and used our 1/8-inch hole punch to create a decorative pattern. We secured the paper around the glass votive with double-sided tape.”

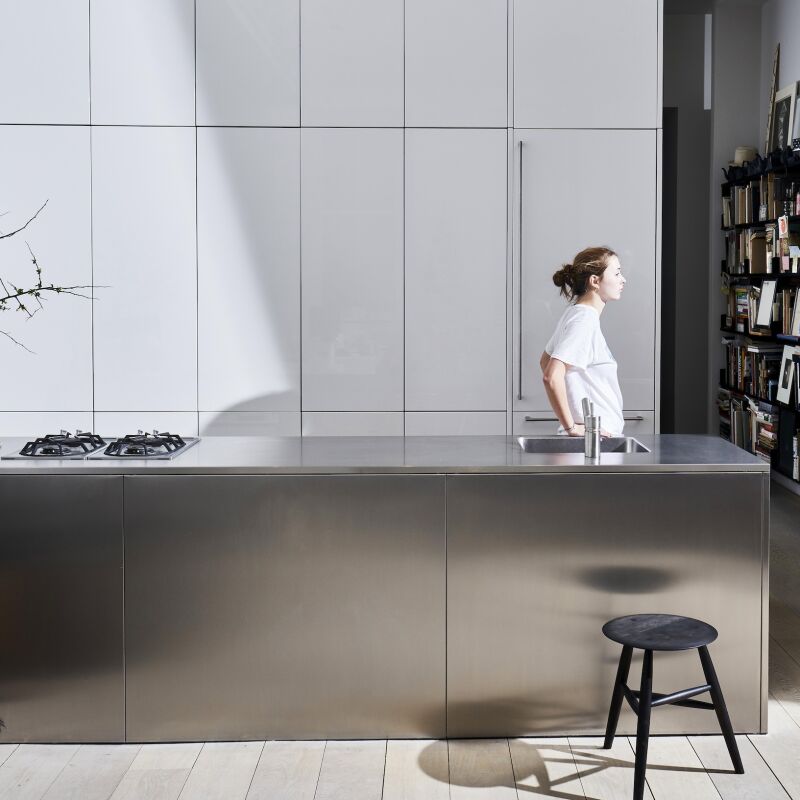
To see David’s inspired kitchen, see Kitchen of the Week: 11 Genius Ideas to Steal from David Stark’ Brooklyn Heights Kitchen. For past DIY decor projects from David, see:

(Visited 686 times, 1 visits today)
You need to login or register to view and manage your bookmarks.

Have a Question or Comment About This Post?

Join the conversation

v5.0