At Remodelista, we’re obsessed with whitewashed Scandinavian floors (it started when we discovered Dinensen wood floors from Denmark). After spotting the floors of my dreams in a kitchen remodel by Betsy Brown, I asked her advice on how to create a similar look; read on to discover her secret formula.
Brown says her formula works on all types of hardwoods, and I’m planning to try it on my own red oak floors—stay tuned to see how they turn out; I’ll be posting on the results in the next few months.

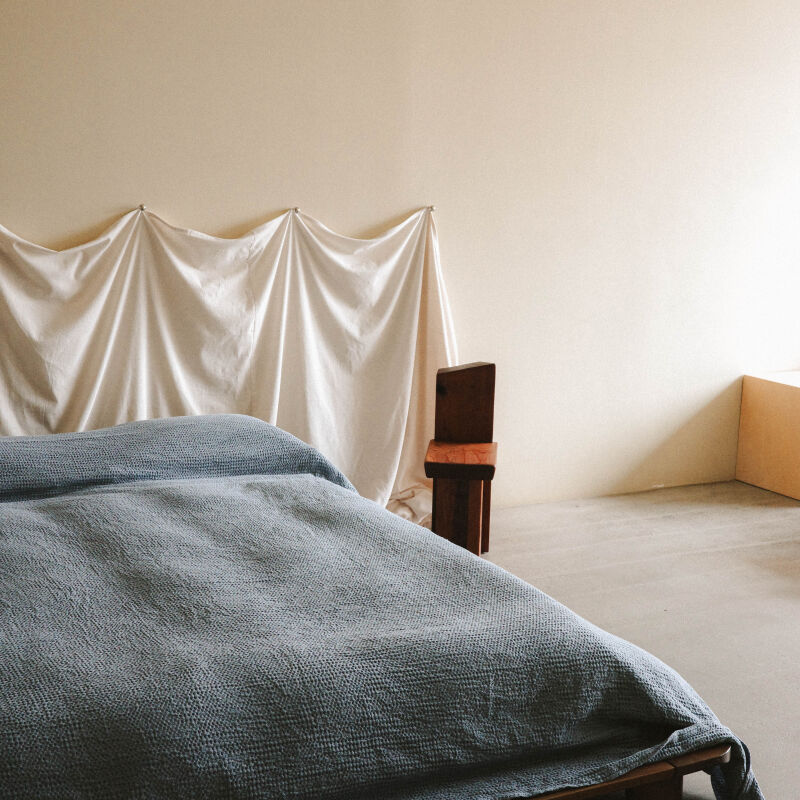
Above: Brown’s foyer; notice how her oak wood floors feature a whitewash finish.
Here are step-by-step instructions on how to create the whitewashed look.
After sanding the floors, bleach them twice with Klean Strip wood bleach (not Clorox, and make sure to follow the instructions on the bottle). Mix your own stain (see below) in a five-gallon bucket, according to what kind of look you prefer.
You’ll need:
- 3 gallons of mineral spirits
- 1 gallon of Benjamin Moore China White low-luster oil paint
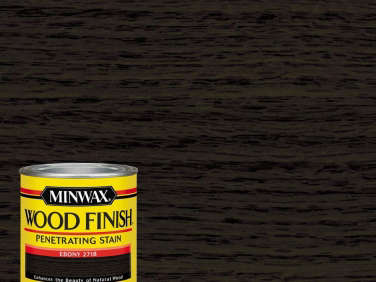
- 3 quarts of ebony stain
- A tube of purple tint (or a tube of blue and a tube of red)
- A tube of ochre tint
Start by mixing 2 gallons of mineral spirits and 3/4 gallon of China White low-luster oil paint with 1 quart of ebony stain. Mix that together thoroughly and test it on a sample board that has been bleached twice. Then add whatever you need to alter the formula to achieve the desired look.
In addition to the China White paint and ebony stain (which together, add up to gray), you should have tinting pigment on-hand—bought in tubes at the paint store—in colors that counteract the color you’re trying to neutralize. Bleached red and white oak turns lemon yellow, so the stain should include a minute amount of purple. Unbleached red oak turns reddish, so the stain should include a minute amount of green to neutralize the red. Yellow pine turns yellow-orange, so the stain should include purple-blue tint to neutralize the yellow-orange. Heart pine turns red-orange, so the stain should include green-blue tint to neutralize the red-orange. Always add the color opposite the one you’re trying to neutralize. Refer to a color wheel to determine a color’s exact opposite.
For instance:
- If it’s too white, add more mineral spirits and ebony stain.
- If it’s too yellow, add more ebony stain or a small amount of purple tint.
- If it’s too gray, add more China White and mineral spirits.
- If you go too far with the purple tint, counteract it with the ochre tint.
Instructions for the flooring contractor:
Stir until you are sure it’s completely mixed. Keep re-stirring at frequent intervals throughout the staining process. Apply with a brush and quickly wipe off with a rag. Dry overnight. Seal with three coats of semigloss latex sealer. Screen between first and second coat of sealer. It’s fine that the stain is oil-based and the sealer is latex, because the formula is primarily mineral spirits—so it’s very thin. This formula works every time.
Searching for wood floor inspiration? See 3,925 images of Wood Floors in our Gallery of rooms and spaces.
N.B.: This post is an update; the original story ran on July 2, 2012.

Have a Question or Comment About This Post?
Join the conversation