With a minor tweak, a lamp from the hardware store is personalized—by way of color choice—and elevated. Easy, quick, and useful in every rooms, it’s the DIY every house needs.
Photography by Alexa Hotz for Remodelista.
Materials

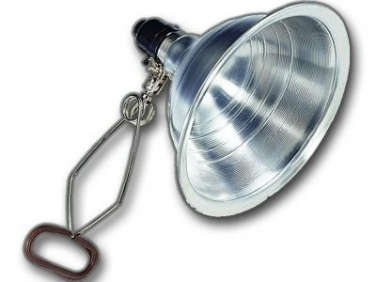
- One Incandescent Clamp Light with an aluminum shade—sourced from your local hardware store or online at Home Depot for $9.31.
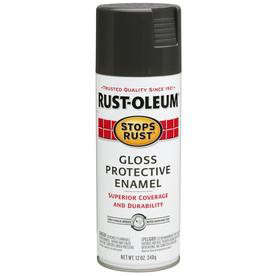
- Rust-Oleum Gloss Protective Enamel Spray Paint; I used Smoke Gray; about $4.28 at Lowe’s.
Instructions


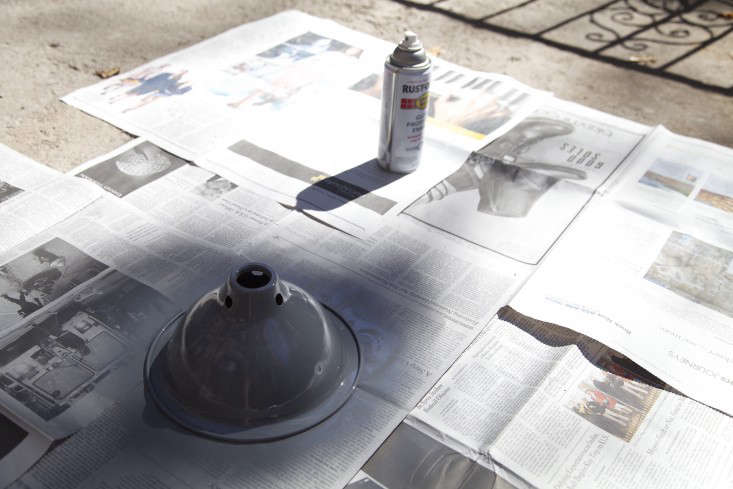


The Finished Look


Looking to make some quick lighting tweaks at home? Visit some favorites from the archives:
- DIY: Razor Clam Pendant Light
- DIY: Rustic Linen Lampshades from Italy
- DIY: An Industrial Wall Light for $15
- N.B.: This post is an update; it originally ran on September 29, 2014, as part of our Belgian Masters issue.
(Visited 4,445 times, 1 visits today)


Have a Question or Comment About This Post?
Join the conversation