We recently featured an Updated Danish Farmhouse with enchantingly raw interiors: concrete floors, painted brick walls, and industrial lighting. I was particularly taken with the wall-mounted light fixtures in the kitchen that the owners salvaged from a brickyard. I set out to build my own DIY version; here’s what I came up with for less than $15 per light.
Photography by Izabella Simmons, unless noted.
Inspiration

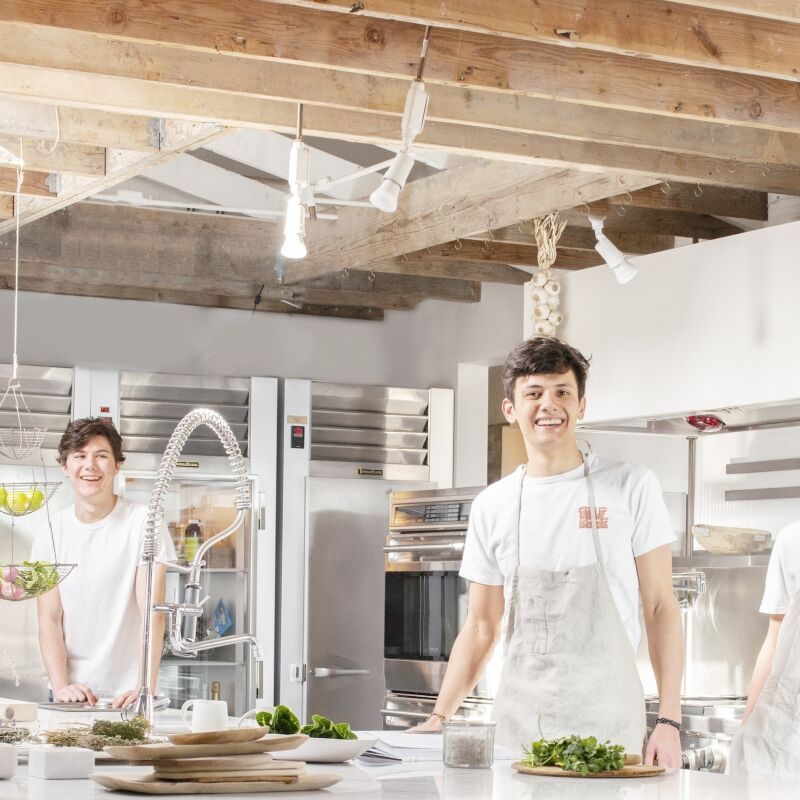
Above: My inspiration–the kitchen of jewelry designer Marie von Lotzbeck and photographer Jakob Kirk, lit by wall-mounted salvaged industrial lights. Photograph by Kira Brandt via Femina.

Above: The three kitchen light fixtures mounted in a row. Photograh by Kira Brandt via Femina.
DIY Project
After a few trips to my local hardware and lighting stores, I was able to source very similar parts–a few discoveries in the plumbing aisle made it all come together. (Skip ahead if you want to see my results.)

Materials
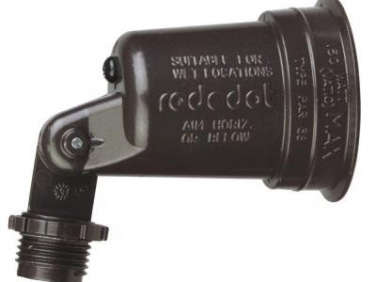
- Red Dot Lamp Holder in Bronze finish; $2.17 from Home Depot
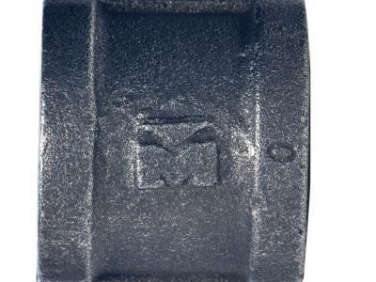
- 1/2 inch Black Iron Coupling (a plumbing supply part); $1.54 from Home Depot
- 1/2-inch-by-8 -inch long Black Nipple (also from the plumbing aisle); $2.92 from Home Depot
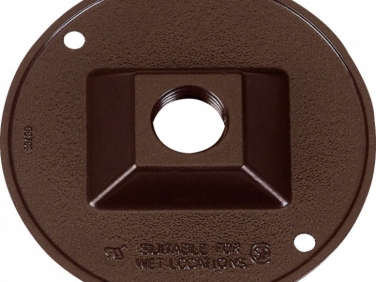
- Round Cover for Lamp Holder in bronze by Sigma; $3.99 from Ace Hardware
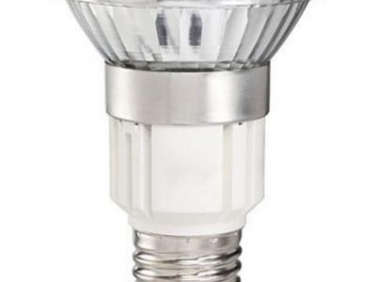
- Phillips Halogen Flood Light Bulb (other light bulb options work as well).
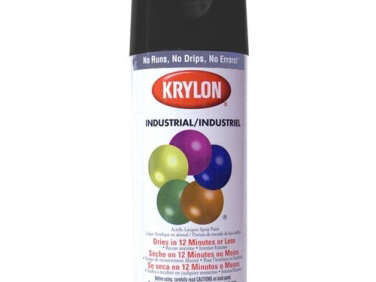
- Black spray paint (see below)

Above L: Philips 20-Watt Halogen Integrated Electronic Ballast Flood Light Bulb; $19.97 from Home Depot. Above R: Krylon Spray Paint in Flat Black finish; $5.38 from Tool Up.
Instructions
Step 1: Spray paint all of the lamp parts matte black and leave them to dry outside for at least half a day.
Step 2: Assemble the pieces–all of the parts have threads that easily screw into one another for complete assembly–yes, it’s that easy.
Step 3: Hire an electrician to take care of the wiring and installation. That’s the next step for me.
Finished Project

Above: Not a bad facsimile, eh?

Above: The DIY lamp ready to be wired and installed.
Into making your own light fixtures? Here’s a DIY pendant to consider (hint: it involves drinking straws). And have a look at my $7 Redo of a Glass Pendant Light using brass paint. Green thumb? On Gardenista, see A Chandelier That’s Also an Herb Garden.
Have a Question or Comment About This Post?
Join the conversation