Sometimes DIY is a bit like giving birth: faced with the beautiful results of your efforts, you begin to forget what a pain it was. And so, nearly a year after completing the arduous task of painting my daughter Solvi’s room with a roller, I found myself trying out a different stencil technique in my son Olie’s room. Don’t get me wrong, both rooms were well worth the effort, but they were definitely labors of love.
Immediately after I’d finished Solvi’s room, Oliver started pestering me about doing something similar in his space. But it took some time to find a design that inspired me to put stencil to wall again. For Solvi’s room, I had gone with a romantic, almost Victorian, theme. For Oliver’s room I wanted something a bit more masculine, but nothing too obvious.
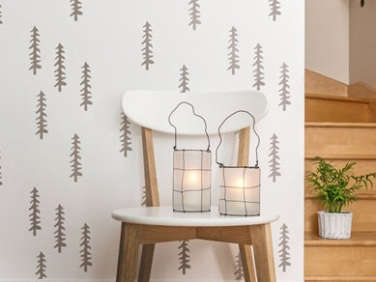
Then, a couple weeks ago, my Etsy circle led me to this tree wall stencil, the Taiga design by StenCilit. I was immediately captured by the simple Scandi-style graphics, slightly more boyish but still in keeping with the Gustavian palette of the rest of the house. Plus, one of our favorite books is about the taiga, or boreal forest, so the theme seemed perfect. And the fact that it was a stencil appealed because it looked like it might be slightly less labor intensive than the roller technique I used in Solvi’s room. Surely this time, with a little practice under my belt, the process would go more smoothly.
Photographs by Justine Hand.

Above: Possessed with the confidence of the experienced, I laid out my supplies and was ready to begin.
Materials
- Siberian Taiga Stencil from the Estonia-based StenCilit, which includes easy-to-follow instructions; $41.
- 4-inch roller with 3/8 inch nap, available at Home Depot; $4.97.
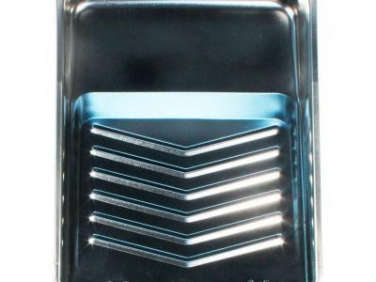
- Paint tray–I like the metals ones at Home Depot; $3.24.
- Sigman Canvas drop cloth; $11.87.
- Painter’s tape. I used Scotch Blue Tape; $3.93.
- Paint.
Note: When choosing your supplies for this project, make sure to select a roller with a shorter nap (3/8 inch), because you don’t want it to absorb too much paint that could potentially leak under the stencil. Also–and this is a very important point for stenciling–the paint for your stencil should be water based and not too sticky. I used a Benjamin Moore Aura paint leftover from the bathroom because I loved the color. However, though I would recommend Aura paint for almost all situations, it was too viscous for stenciling, which led to some bleeding. (I also think this was the reason there was so much slippage with Solvi’s project. Lesson learned!) Fortunately, in this case, the dispersed stenciled pattern made it pretty easy to fix mistakes with an overlay of base coat. For covering mistakes, Aura paint is perfect.
Instructions

Step 1: Apply a base coat over all the walls you wish to stencil and allow to dry thoroughly. I wanted a crisp Scandi feel, so I choose Benjamin Moore’s Decorators White in matte.

Step 2: To position your stencil, begin in the upper right-hand corner of one wall. Making sure the stencil is aligned with wall and the trim, tape it securely to the wall with painter’s tape.

Step 3: Grab the paint with your roller making sure that it is thoroughly saturated but not dripping. Roll off excess paint on the tray.

Step 4: Starting at the top, roll down pressing firmly enough to get a crisp design, but not so hard that you push the paint under the stencil. This can take some practice, but I found I got the hang of it pretty quickly.

Step 5: To repeat the pattern, simply overlap the last row, either horizontally or vertically, depending on which direction you are going. I worked down each wall and then moved back to the top of the next row and down again, until the wall was covered. If you need to take a break, you can wash off your stencil–it’s made of mylar–and leave it to dry until you’re ready to begin again.

Step 6: After I completed all the large areas, I cut a piece of the stencil to finish off the edges and small spaces. Of course this ruined the stencil for future use, but it got pretty gummy anyway and, really, one tree-patterned room per household is enough. Then with a small brush, I touched up mistakes with a bit of my base coat.
Finished Results

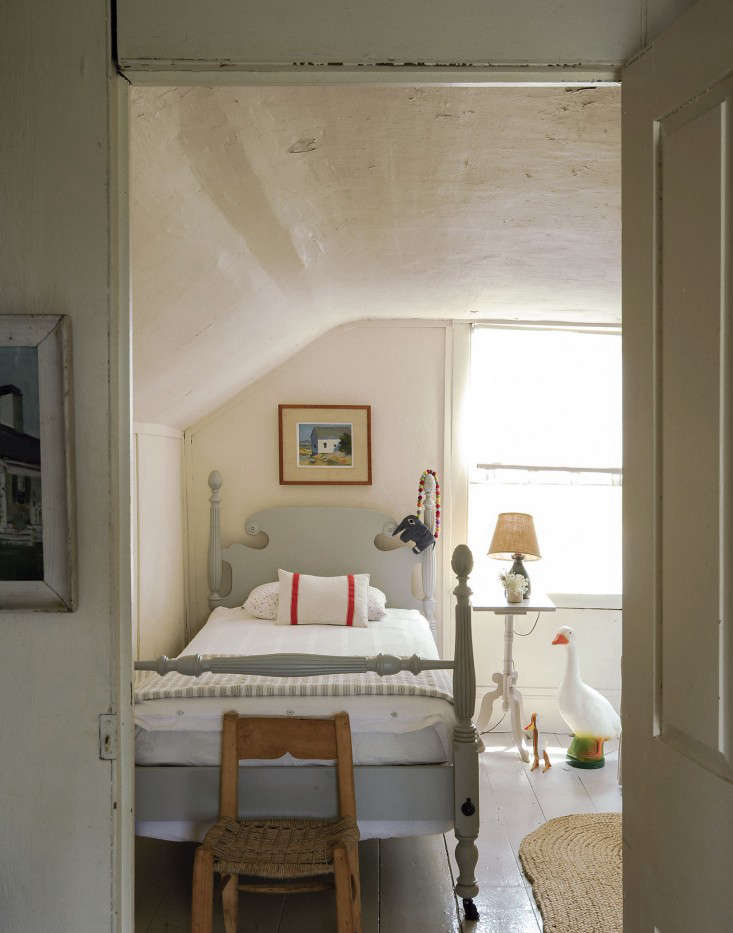
Above: Oliver’s room is now crisp and clean and cheerful.

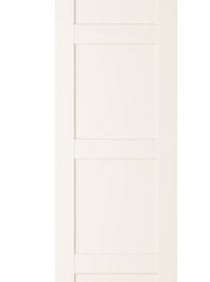
Above: I’m truly sorry that I didn’t get a before picture of the room. Suffice to say that the walls were pale lemon yellow, and the compact furniture, which worked perfectly in our previous apartments, was dwarfed by the scale of the room. To unify the space while maximizing storage, I choose two PAX cabinets from Ikea (79 inches by 13 inches, a size you can only order in the stores) with Bergsbo doors ($49.95 each) . To give these a more Gustavian look to complement the stenciling and our historic house, I painted the wardrobes Benjamin Moore Sea Salt. I paired an eagle kite that Aunt Sheila brought Oliver from China with an Ikea rug and bunk bed we already owned, and our Boreal Bedroom was complete–or nearly; there are still a few touches I’d like to get to, such as adding sconces.

Above: The kids settled right into the new space. (It will never look this clean again, but that’s OK.)
N.B. We’ve been taking note of the contemporary approach to creative stenciling, including DIY: Dramatic Floor Stencils. Thinking of wallpaper? Follow Michelle’s adventures on Gardenista figuring out How to Pick the Perfect Pattern. And have a look at her choice: The Perks of Being a Pale Blue Wallpaper.


Have a Question or Comment About This Post?
Join the conversation