Happy holidays! This week we’re revisiting our favorite festive stories from years past, like this one:
Once, at a dinner party, I was entranced when a friend unpacked her backpack to reveal each of her dinner contributions: a bottle of wine, half a loaf of fresh bread, and six Bosc pears, each group intricately bundled in specifically-knotted furoshiki cloth wraps. The wrapping was not only practical, preventing the wine bottle from smashing into the delicate pears on her walk over, but also elevated the whole experience and made the packages feel like gifts.
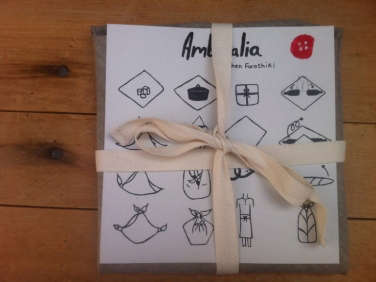
Furoshiki is a centuries-old tradition in Japan, and a way to bundle and transport belongings and presents. It’s waste-free too–which explains why the Japanese Ministry of the Environment issued a pamphlet detailing the different techniques to use depending on what you want to wrap. Furoshiki can be applied to just about any object, large or small, and uses simple knots and folds, all of which are fairly easy to master. Here’s a look at four of our favorite techniques (perfect for no-waste gift-wrapping this holiday season).
Photography by Leigh Patterson for Remodelista.
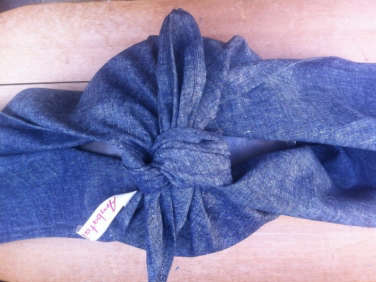
The Basic Wrap

Above L to R, top to bottom:
- Place your object in the center of the furoshiki (most are pre-cut square cloths sized anywhere from 18 to 45 inches; you can easily make your own—any knottable fabric works).
- Take two opposite corners of the square and tie them into a knot in the center; if the ends are long you can tuck them in.
- Then take the other two opposite corners and knot them just above the first knot.

The Bottle Wrap

Above, L to R, top to bottom:
- Place a bottle in the center.
- As with the basic wrap, take the two opposite corners of the cloth and bring them together above the bottle in a knot with long ends.
- Twist the ends as though you were wringing out a towel and tie the twists together in another knot above the first, creating a little loop over the bottle.
- Finally, take the other two opposite ends and knot them at the front of the bottle.

The Card Wrap

Above L to R, top to bottom:
- Place a card at a diagonal in the center of the cloth.
- Fold two corners over the card to create a point (like the shape of a party hat) on one side of the card.
- Next, fold the sides in on a straight line as if you were forming an envelope.
- Fold the bottom end of the triangle over to create the bottom of the envelope, and finish by tucking in the point.

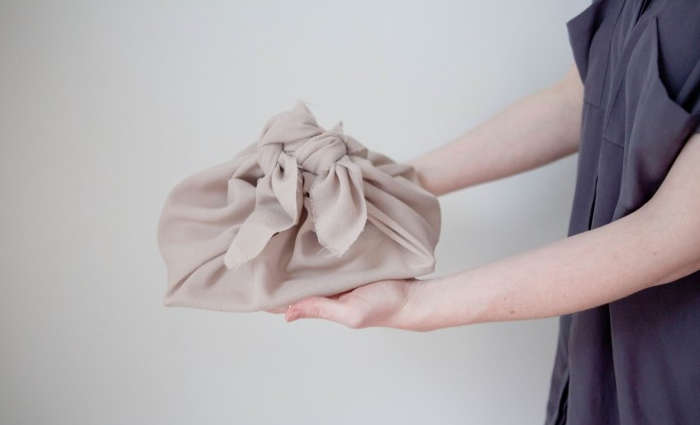
The Carry Wrap

Above L to R, top to bottom:
- Place the objects in the center of your cloth (since I’m wrapping produce, I opted for cheesecloth for breathability; the cloth is a rectangle but you can also use a square).
- Gather two corners of the fabric along the same end, rather than opposing sides, and knot them together.
- Repeat for the other side to create an open shopping bag-style pouch.

For more wrapping inspiration, see:
- DIY: A Trio of Gift Wrapping Master Classes from the Doyenne of Presentation
- Expert Advice: A Holiday Gift Wrapping Workshop with Matt Dick
- 7 Quick Fixes: Holiday Gift Wrap
- DIY: Tea-Dyed Wrapping Paper from LA’s Doyenne of the Perfect Present
N.B.: This post is an update; the original story ran on April 25, 2014.

Have a Question or Comment About This Post?
Join the conversation