I loathe the look of cardboard tissue boxes, and even worse, if you ask me, are tissue boxes with attempted cool designs on the exterior. I’ve always longed for a wall-mounted, stainless steel cover, but I don’t have one. What I do have at my disposal is some excess canvas (thanks to the many painter’s drop cloths in my closet) and a few tubes of acrylic paint left over from that time I thought I’d take up painting. Here’s how I solved the problem.
Styling and photography by Alexa Hotz.

Materials
- 1 standard square tissue box to use for measurements
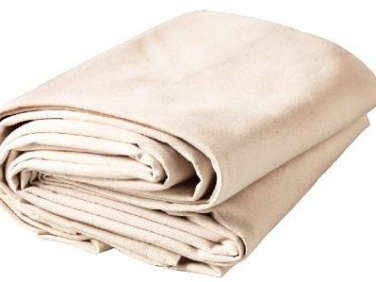
- 1/2 yard of canvas fabric or a section of a Painter’s Drop Cloth ($26 from Gempler’s)
- Sewing machine or a medium needle
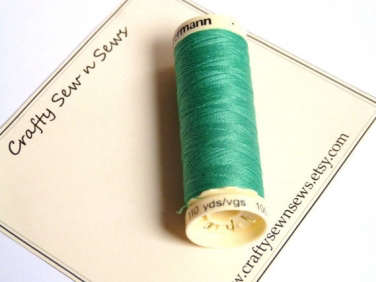
- Green thread, such as Gutermann Sew-All Polyester Thread, available for $2.90 from Crafty Sewn Sews on Etsy
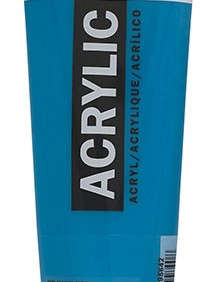
- Acrylic paint in a color of your choice; I used Amsterdam Standard Series Acrylic Paint in Permanent Green Light; $7.51 from Blick.
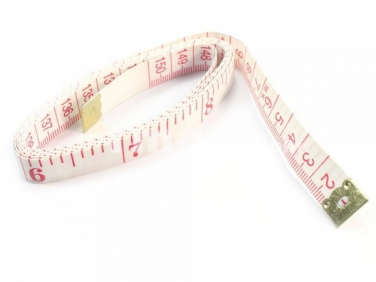
- Scissors, seam ripper (for mistakes), and Tailor’s Measuring Tape ($2.72 at T Mart)
Instructions

Step 1: Cut a square of canvas larger than you’ll need to fully cover the tissue box. Place the tissue box in the center of the canvas and trace measurements onto the fabric. On the perimeter of the square, trace an additional square inch out for a seam allowance for when you hem the fabric.

Step 2: Paint one side of your fabric in the color of your choice and wait for it to fully dry before proceeding. Taking inspiration from Pete Oyler’s Roll With It toilet paper holder, I opted for a bright kelly green.

Step 3: Once the paint has dried, sew a half-inch hem around each side of the square piece of canvas.

Step 4: Next, gather the four sides of the overall square to make four darts (folds in fabric that will provide a three-dimensional shape, also seen below), sewing each on the unpainted side of the fabric and making sure as you go that the shape is coming together nicely.

Step 5: Once you have sewn each corner to create an inside-out box, turn it right side out to reveal the painted face of the canvas. Now you can either tuck in each dart or cut a bit of the excess fabric.

Step 6: Finally, make about a three-inch cut at the top of the box where you’ll pull the tissue through. I left this seam raw because I don’t mind the look, and the paint actually keeps the cut threads in nicely.
The Finished Look

Above: Set against the background of a mostly white bathroom, the tissue cover creates a nice dollop of color.
Michael Verheyden had a similar idea when he designed a tissue box cover in saddle leather; see it in our Steal This Look on a bathroom at the Ace Hotel, in Downtown Los Angeles. For those in the DIY spirit, consider block-printing fabric or, as seen on Gardenista, making your own indigo dye.
N.B.: This post is an update; the original ran on March 17, 2014, as part of our British Isles issue.
Have a Question or Comment About This Post?
Join the conversation