I limewashed my bedroom two weeks ago (see DIY Project: Limewashed Walls for Modern Times) and have been enjoying the serenity of the freshly painted space. The one drawback? Every time I opened my closet door, it was an affront to my senses. Dingy and disorganized, it called out for a makeover–something quick and cost-effective.
And so last weekend, armed with a can of leftover paint and a yard of cotton muslin, I got to work. A day later, my closet is as pristine as the bedroom beyond its door.
Photography by Justine Hand for Remodelista.

Above: The inspiration: nonslip, wabi-sabi muslin hangers made by Julie Baine, owner of my favorite local store Pod/Shop Fog Linen in Cambridge, Massachusetts. Here’s the backstory:
Years ago, Julie needed hangers for the clothing she carried in her fledgling boutique. She wanted something practical with a signature look and that didn’t break the bank. Donated wire hangers from a nearby dry cleaner were filling in until a better option presented itself, but the clothes kept slipping off. Then one day Julie was inspired by some muslin bags that came with the blankets she carried. Methodically, she began ripping the shear fabric into long strips that she then wrapped around the wire hangers.
Sometime later, during a moving sale, I bought 10 of these simple textile hangers for my own clothes. For my new closet, I wanted a complete set. And so, while the first coat of painted dried, I tried my hand at re-creating Julie’s hangers. Happily, it was very easy.
Before

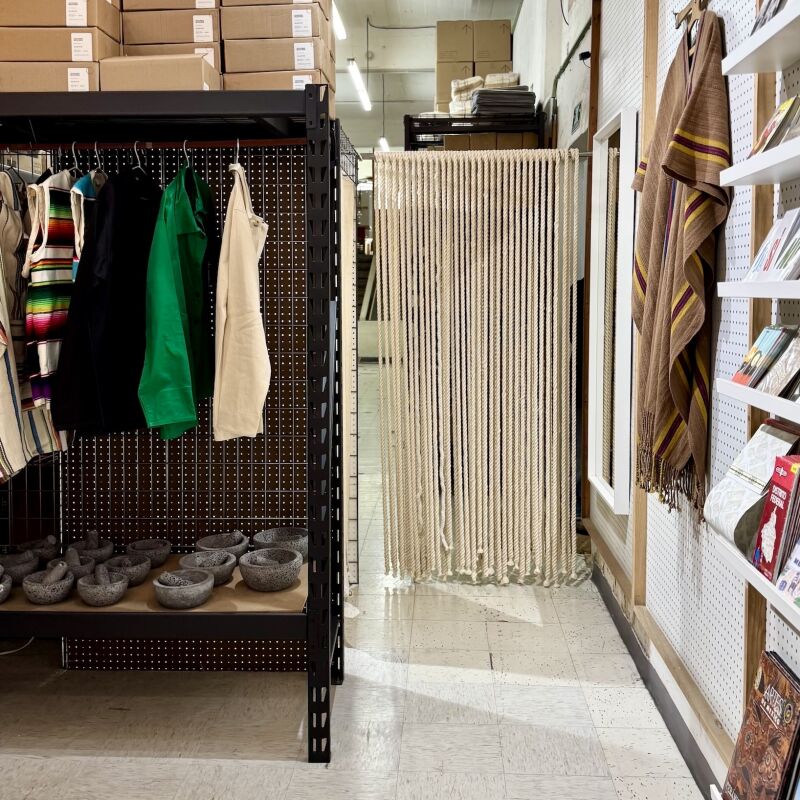
Above: When we moved into our our house three years ago, we only had a week before leaving for the summer. With no time to cull and organize, we just shoved things away. The result: My drab closet with mismatched hangers (some of which, you will note, barely had a grip on my clothes) was both dysfunctional and dreary.
Materials

This project is all about recycling. All you need are some white wire hangers from your dry cleaner, good shears for cutting cloth, and a yard or two of any cotton or linen muslin–an old sheet, even a worn T-shirt will do. I experimented with a torn linen pillowcase and some cotton muslin I bought at my local fabric store. Similar Natural Cotton Muslin is $4.50 a yard at Fabric.com.

Step 1 and 2: Cut your muslin into thin strips about a 1/2 inch wide and a yard long. Then tie the end of one muslin strip to the neck of your hanger. For decorative purposes, I left an inch-long tag.

Step 3: Holding your ribbon at a slight diagonal, tightly wrap the muslin around the hanger making sure that each new layer overlaps the one before.

Step 4: When you have several inches remaining, tie off the first ribbon with a double knot and trim excess, leaving behind a small tag.

Step 5: Tie your second ribbon onto the hanger. I placed mine so that it would wrap over some of the first strip. This helps to secure both ribbons and ensures that you don’t have two lumpy knots in the same place. The twist in the hook of the hanger provides a nice ridge against which to secure your final knot. When you’ve finished wrapping your second ribbon, simply it tie off and leave the hook exposed.

Step 6: Voila! My muslin-wrapped hangers.
The Finished Look

Above: With my new hangers, my clothes hang at an even height–so much more functional (not to mention aesthetically pleasing).

Above: Here’s my closet, all fresh and clean and ready for spring. Of course, painting your closet and rehanging your clothes also gives you the chance to organize. Feeling ambitious? Try Michelle’s ultimate cull: Closet Clean Out: The Only Ten Pieces of Clothing You’ll Need.
Hang around–sorry, couldn’t resist–here are some more inspirations:
- DIY: Wooden Bead Hangers at Garde
- High/Low: Instant Coat Hanger Hooks
- For crocheted hangers like Grandma used to make, see Clothes Hangers from Wood and Wool
- DIY Rustic Linen Hanger Covers
- 11 Favorites: Display-Worthy Clothes Hangers


Have a Question or Comment About This Post?
Join the conversation