
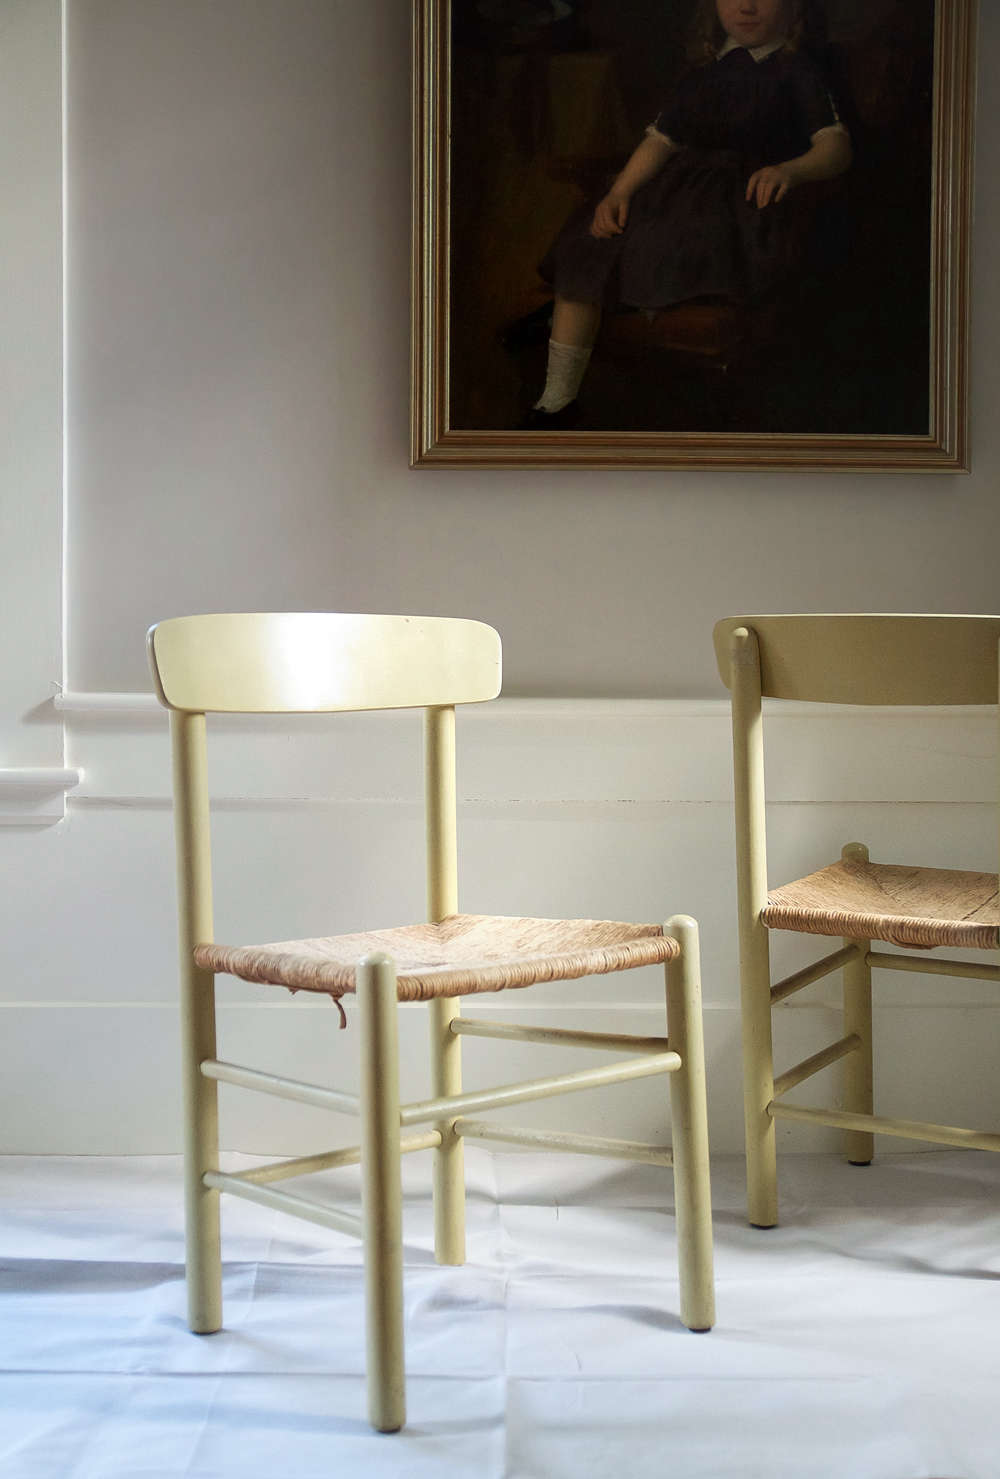
A few summers ago, my husband and I were driving on Cape Cod when I spied a couple of midcentury modernesque chairs outside a thrift shop. “Stop!” I yelled–we were in need of dining chairs. When I asked the owner the price, he informed me that there were four more out back. “How much for all six?” I asked. “Thirty dollars for the set,” he replied. I gave him $35. Score!
Only problem, someone had painted the chairs a pale puce green. But for $35, I was willing to put in the labor to paint them. Here’s how I did it.

Supplies
- Latex paint
- Primer
- Water-based polycrylic or finishing wax
- Paint brush
- Foam paint roller and pan
- Fine and medium sandpaper
- Tack cloth
- Protective floor cloth
- Tape (if needed)
Step 1: Get Your Inner Zen On/Chill Out
Sure, when deadlines loom, I’ve been known to slap on a quick coat of photo-worthy paint. The results never bear close inspection.
The key to a smooth, durable paint job is to slow down. So download those TED talks you’ve been meaning to listen to, or the audio-book version of War and Peace, and settle in. If you don’t rush it, painting can be a very zen process.
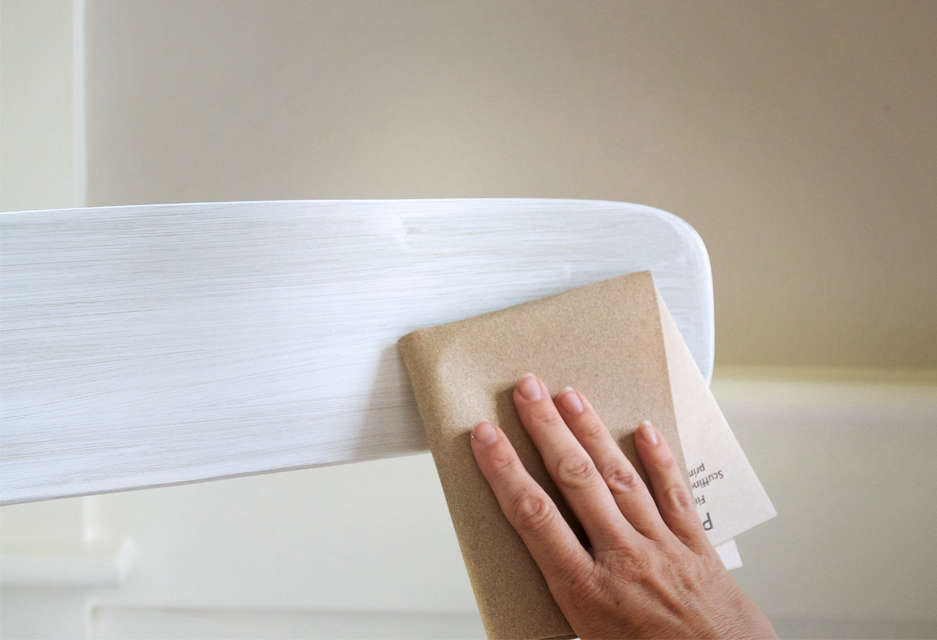
Step 2: Sand, Sand, Sand
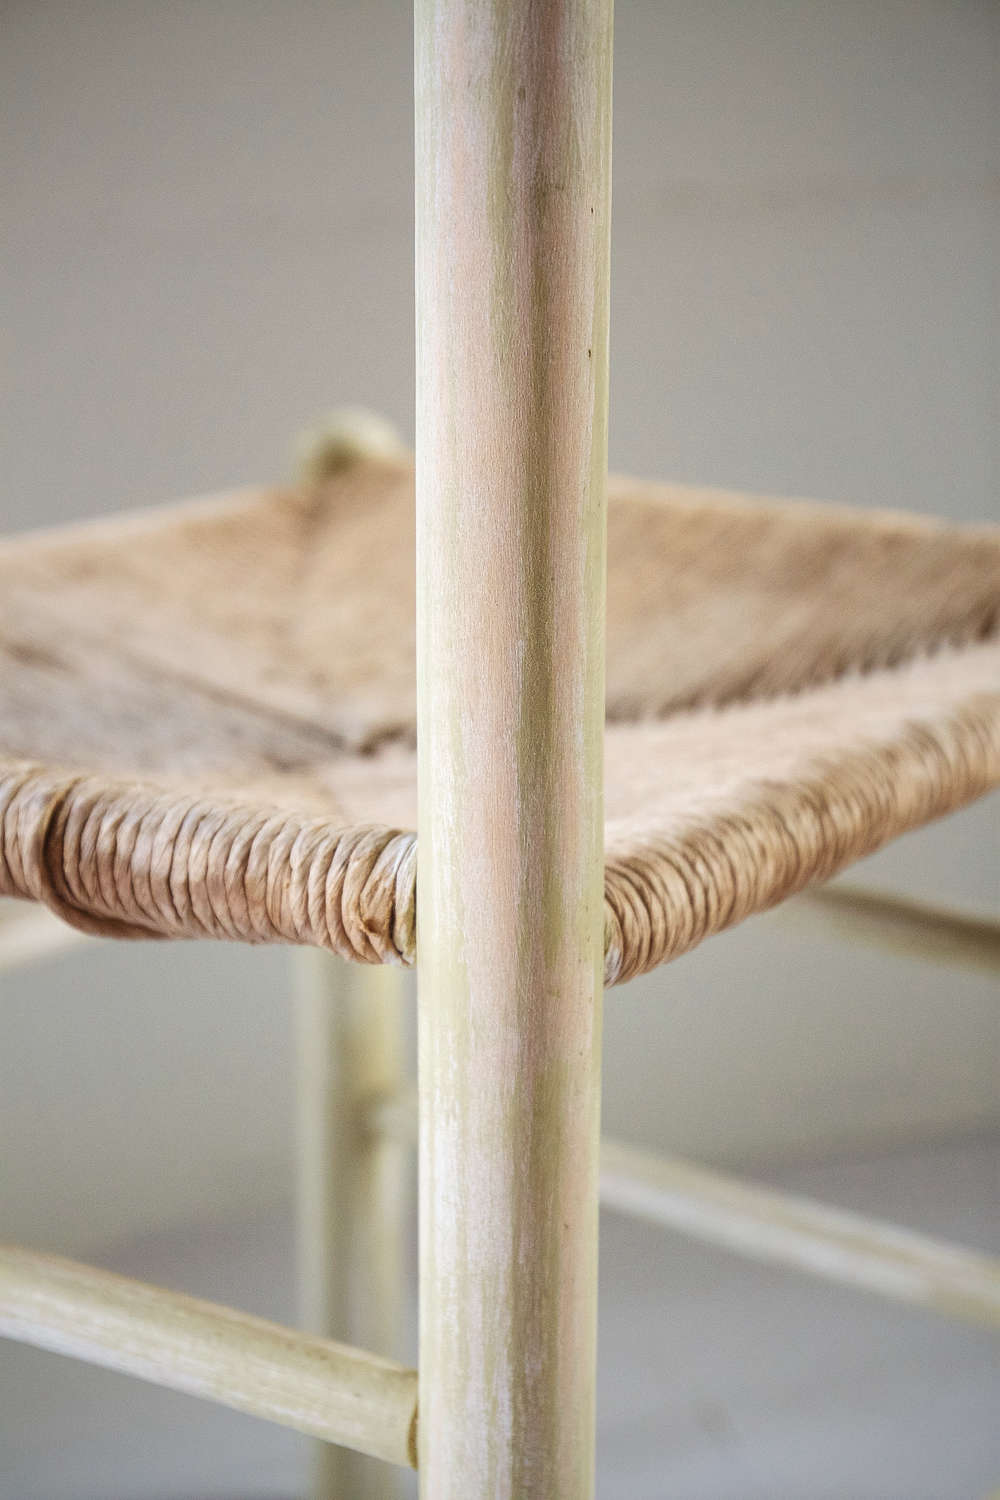
We all know that real estate adage: “Location, location, location.” With paint, it’s “prep, prep, prep.” To achieve an even finish, you’ll need to do a thorough sanding job. Use a medium grit to remove old paint, stains, and debris. This process helps smooth the surface and will give your paint something to hold onto. If you’re working with a relatively a flat area, you can use an orbital sander. For something with many round parts, like my chair, you’ll have to do most of the work by hand.

Step 3: Clean and Tape
Once you’ve sanded your piece of furniture, you’ll need to thoroughly clean off all the sawdust. Hands down, a tack cloth is best for removing particles that can negatively effect your paint job. Make sure you wipe every inch of your furniture. Be sure to repeat this process every time you sand.
If necessary, tape off any areas you will not be painting.

Step 4: Prime
If your piece of furniture was previously painted or stained, I recommend a stain-blocking primer such as Kilz or Zinsser Bulls-Eye 1-2-3 primer. Otherwise, a regular primer will do.
Using a brush or a roller, apply a thin coat of primer to the entire surface of your piece. Let it dry overnight. Then, lightly sand and clean again. If necessary, prime again.

Step 5: Paint
Finally, you’re ready to paint. Once again, patience is key.
For projects like a table or dresser that have a lot of flat surfaces, a roller is faster and creates in a streak-free finish. For chairs with round rungs or furniture with hard-to-reach corners, you’ll need a brush. Whichever you use (or, if you alternate between them), apply a thin coat of paint in the direction of the grain. In order to avoid drips or buildup, always go back over what you just painted with the tip of a brush, especially around edges and joints, where paint can accumulate. Allow this coat to dry overnight to ensure that the surface will have hardened enough to withstand a thorough sanding.
Step 6: Repeat
Once your first coat is dry, sand, wipe, and paint it again with another thin coat. Repeat: paint, dry, sand, clean. To paint furniture correctly, it can take up to four or five coats.

Step 7: Seal and Protect
Once you’ve achieved full coverage, you’ll need to protect the finish with a top coat. Using a brush, apply one or two layers of polycrylic–again, always sanding and cleaning in between. You can also use a clear finishing wax. (Avoid varnish, though, as it can yellow.)


For more painting how-tos, see:
- 10 Things Nobody Tells You About Painting Kitchen Cabinets
- DIY Inspiration: A Monochromatic Freshen-Up for Old Frames
- Trend Alert: The Power of the Painted Circle
N.B.: This story originally appeared way back in 2016 and has been updated with new info.


Have a Question or Comment About This Post?
Join the conversation