I love the idea of making gifts for the holidays, but I usually end up taking on more than I can handle: “I’ll just weave a quick rug for my sister, pickle cauliflower for my stepdad, and knit socks for my aunt.” The result? Everyone gets a nice journal from the bookstore. This year is different, because I’m making easy wooden bead trivet sets for everyone on my list.
This easy and cost-efficient project will set you back about $7 per two-tiered trivet and takes minutes once you have the materials assembled. Want to give it a try? See my DIY video below for step-by-step instructions (you’ll need to source the materials outlined below).

Above: Wooden beads and a coil of thin leather cord.

Above: After stringing the beads, cut each end at a desired length to knot together.

Above: The smaller trivet nests inside of the larger one to make an even sturdier resting spot for heavy cast iron pots.
Here’s What You’ll Need:
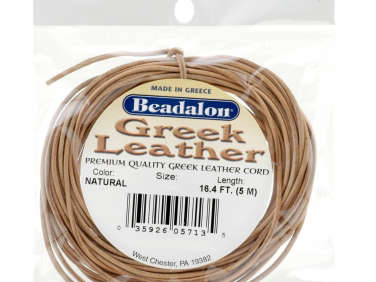
- For the larger trivet, source 25 1/2-Inch Wooden Beads (about 3 cents each from Craft Parts) and 20 inches of Greek Leather Cord ($9.58 for a pack of 192 feet at Amazon).
- For the smaller trivet, you’ll only need 18 1/2-Inch Wooden Beads and 13 inches of Greek Leather Cord.
N.B.: Looking for a garland to go with that wreath? Find it along with 18 other DIY Videos.


Have a Question or Comment About This Post?
Join the conversation