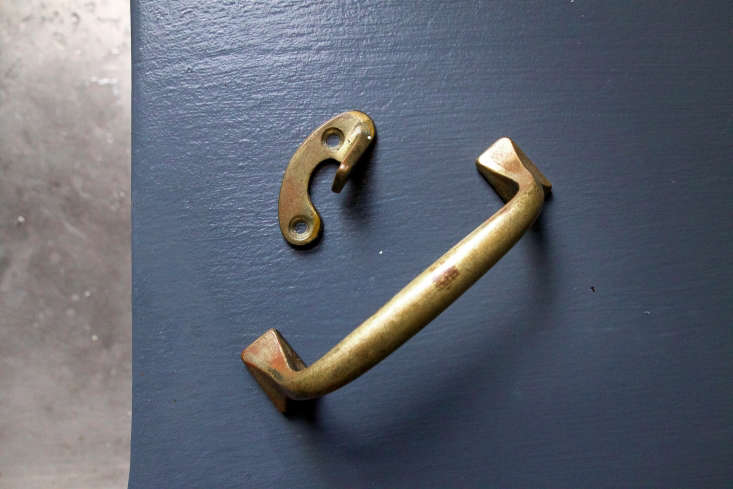
Last year I transformed my historic butlers pantry with the help of some dark blue paint (see: Moody Midnight Pantry with Farrow & Ball Paint). The final step of this restoration project? Removing decades-worth of tarnish from the original brass hardware—all 36 pieces of it. I now consider myself an expert on how to polish brass.
Here’s what I learned.
What you will need

Supplies you’ll need:
- White vinegar
- Brass or metal polish such as Wenol Metal Polish; $9.66 at Amazon.
- Gloves
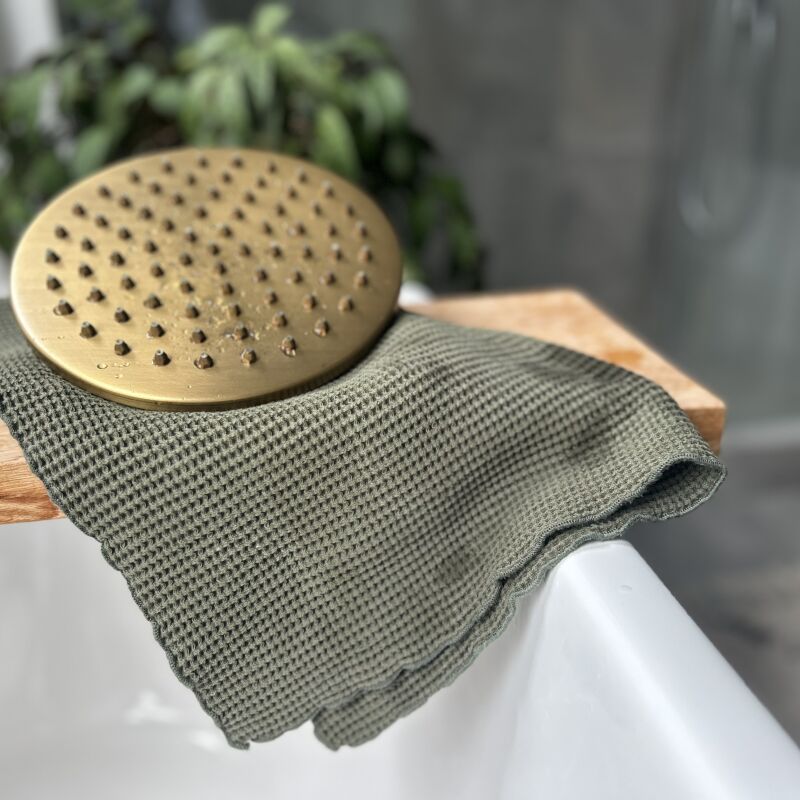
- Soft, clean cloths or rags
- Mineral or linseed oil
- Soft bristle brush (optional)
- Protective surface covering (optional)
- Varnish or nail polish remover (optional)
1. Test your metal.

Before you begin, confirm that your piece is indeed solid brass and not plate or some other gold-toned metal. To test, simply hold a magnet up to the surface. If it doesn’t stick, you have solid brass. If it does, you most likely have plate. Clean this only with soap and water.
2. Strip any lacquer.
Many modern brass surfaces are protected with a lacquer finish. Even so, they can become tarnished. You will not be able to effectively polish them until the varnish is removed.
First, examine your piece; lacquered brass is more yellow, smooth, and shiny than unfinished brass. To remove the lacquer, submerge your brass piece in very hot water, which will cause the brass and the lacquer to expand. You may need to go so far as to boil your brass object in a non-aluminum pot. Carefully, remove your piece from the water and let it cool. As it does so, the metal will contract from the finish, and you should be able to peel the lacquer away. You can also eliminate lacquer with varnish remover and a soft, clean cloth. Nail polish remover also works. For really old, stubborn lacquers, consider soaking your piece in the chemical remover for several hours. Never use an abrasive cleanser, wire brush, or steel wool, as these will scratch the metal.
3. Pre-clean.
Using hot, soapy water and a soft cloth or brush, clean away any dirt, food, or other deposits. For wax, try carefully pouring boiling water over the spill until it melts away. Dry thoroughly before you polish.
4. Polish the brass.

A. Eco-Friendly Solution
I like to start with straight white vinegar, which is usually all I need to touch up a piece of mildly oxidized brass. To use, simply dip the end of a soft, clean cloth into your vinegar and rub the brass until it shines. You can also add 1 teaspoon salt to 1/4 cup of vinegar to boost the polishing effects. But make sure the salt is not too coarse, as it can scratch the brass. Some people also use lemon juice and salt in similar proportions. Others add flour to their acid/salt combos to make a paste which they leave on the brass for 10 minutes, then buff away.
You can also soak your pieces in vinegar for several hours or even overnight. (I find this bath to be a good first step when you’re dealing with heavily tarnished pieces like my hardware.)
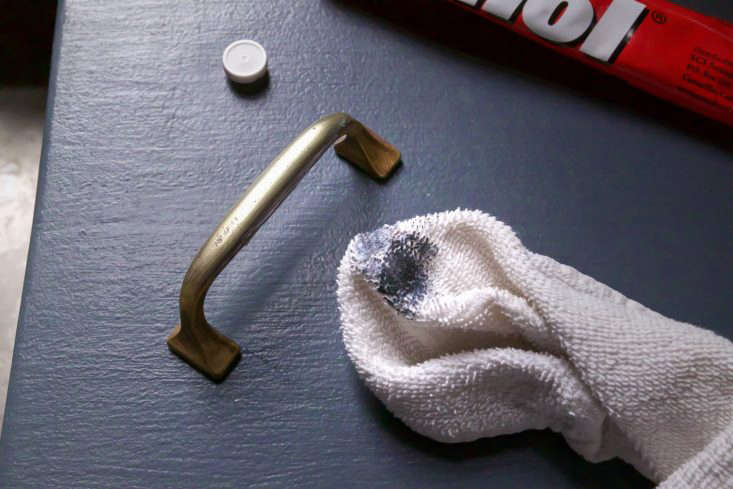
B. Commercial Polish
For more heavily oxidized brass, a commercial polish may be necessary. (As I mentioned above, I like to minimize the amount of elbow grease—and harsh chemicals—required, by first giving my brass an overnight soak in vinegar.) Working in a well-ventilated room, using gloves to protect your hands, apply a bit of commercial metal or brass polish to your piece and gently rub with a dry, clean cloth. Do not use a wet rag as the water will dilute the chemical solution of the polish. Bonus tip: Use a soft-bristled toothbrush for hard-to-reach areas.
5. Wash.

Commercial polishes in particular will leave an dirty, oily residue. Wash this off with dish soap and warm water. Dry thoroughly.
6. Protect.

To protect your newly polished brass, rub with a light coat of mineral oil to preserve the finish (never add a lacquer coat to old brass).


Want to make more things shiny?
- Domestic Science: How to Polish and Clean Silver
- Shine Bright Like a Diamond, Window Cleaning Edition
- Expert Advice: Editors’ Top 23 Cleaning Tips
Have a Question or Comment About This Post?
Join the conversation