The last time I experimented with natural plant dye, I was in the fifth grade and away at nature camp. I’ve always wanted to try it again, and the need for a Thanksgiving tablecloth seemed like a good excuse. Perhaps something in a soft gray?

Above: After doing a bit of research, I discovered that red cabbage is a good ingredient to achieve the color I was after–with caveats: Some dyers advise against red cabbage, especially for clothing, because it’s not very colorfast; others are fans. Bottom line: It’s easy, so I decided to give it a try. Here’s how I did it.
Materials

Above: The project requires very few ingredients, most of which you probably already own. Here’s what you’ll need:
- 2 heads of red cabbage
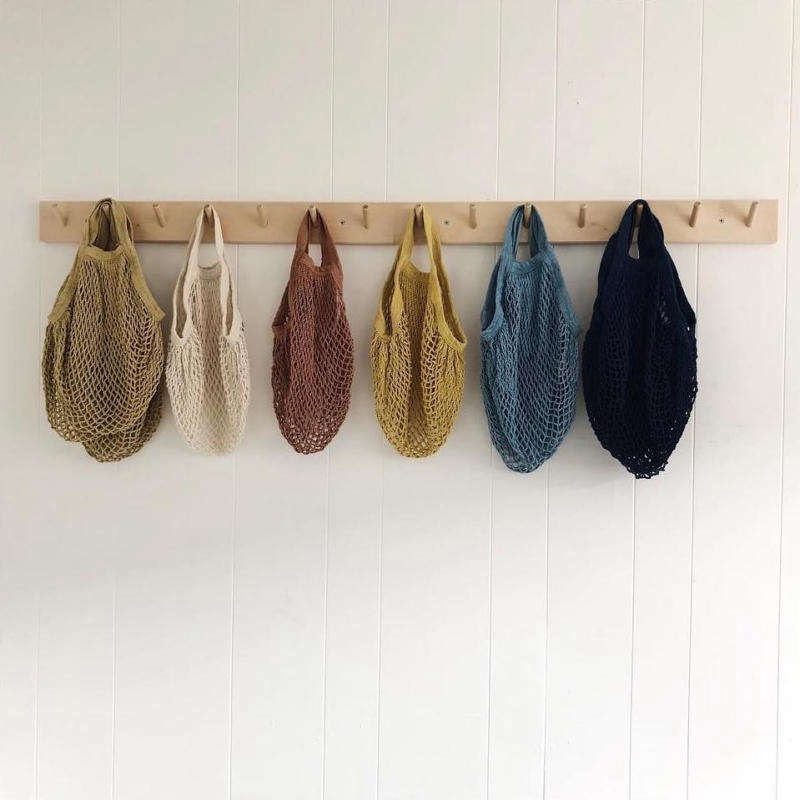
- A length of unbleached, natural cloth, sized to cover your table. Cotton, linen, silk, and wool all work (but will react to the dye in different ways). I went to my local fabric store and bought several yards of natural cotton fabric for $15.
- 2 stainless-steel or enamel stock pots large enough to accommodate your cloth
- Measuring spoons
- A small container of alum, an astringent compound found in the spice section of most grocery stores
- A big plastic bucket
- Heavy-duty rubber gloves
- A large mesh drawstring bag (optional). I used a nylon vegetable bag; mesh bags for delicate laundry also work
Instructions

Steps 1 and 2: Chop the cabbage into one-inch chunks, and then gather the cabbage in a mesh bag–doing this makes for slightly easier cleanup, but the project works just as well with loose cabbage. Note that anything you put into your pot will react with the dye, so don’t use a zippered bag; the metal will change the dye.

Step 3: Place your cabbage in a pot and cover with water (the ratio of water to cabbage should be about 2 to 1). A stainless steel pot is a good choice for dying because its own chemical properties won’t react with the dye. Place on high heat, but when the water starts to boil, immediately reduce. Simmer for 20 to 40 minutes, until the color has leached out of the cabbage. Note: Be careful not to let the water boil too long; high heat is said to “kill the dye” (translation: the color will be less potent).

Step 4: While the dye bath is on the stove, prep your fabric. First wet it in cold water.

Step 5: Prepare your mordant, a compound that combines with dye and fixes the color in the material. I used alum, the least toxic of all the mordants. Mix 1 teaspoon per gallon of water; you want enough liquid to fully submerge your cloth. Unbleached, natural fibers absorb plant dyes the best, but all require a mordant.
NOTE: Alum was once used in cooking, but has more recently been found to be harmful in large doses. Therefore, do not treat your fabric in a pot used for cooking. I used my candlemaking pot, which is enamel, another good, nonreactive choice for dying. The same goes for the measuring spoons. These cheap red ones are for crafts only.

Step 6: Wearing rubber gloves, steep fabric in the mordant bath and simmer for one hour. Here, both my dye and fabric steam away.

Step 7: After the color has leached out of the cabbage, discard the leaves and keep the liquid dye. Here’s a small sample of the color I got.

Step 8: After an hour, remove the fabric from the mordant bath and rinse it in cold water. Pour the dye into a large container–I used my enamel pot in case any of the alum remained–and submerge the fabric in the dye. Your fabric should have enough room to move around freely in its bath. Don’t worry if some cloth floats to the top, it will still absorb the dye. You can also stir occasionally with a disposable stick or gloved hands.

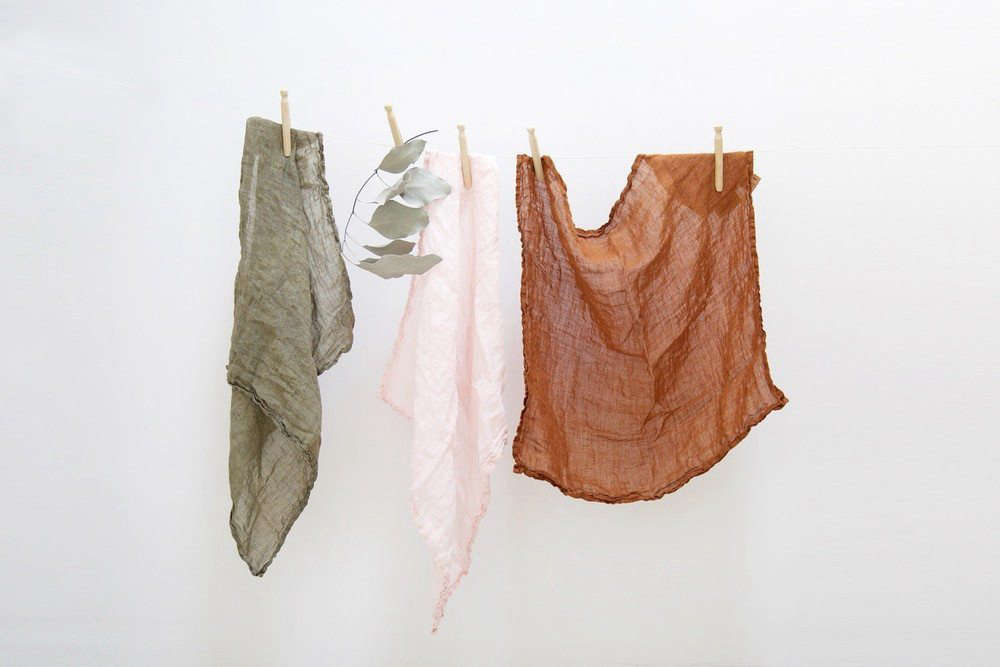
Above: The longer you leave your fabric in the dye, the darker it will become. After soaking overnight, my cloth achieved a deep lilac hue.

Above: Note how the dye changed color as it cooled, morphing from magenta to amethyst.

Step 9: Wearing rubber gloves, place dyed fabric in a large bucket (or stainless steel sink) and rinse with cold water. Your fabric will lighten quite a bit.

Step 10: Hang your tablecloth out to dry over any surface that won’t be affected by the dye. (Your white enamel tub may not be the best choice.) Also make sure there are no creases in the fabric; these will cause uneven coloration. N.B.: I used an unhemmed piece of fabric–I wanted a rough, wrinkly look. If you choose to add a hem, you might want to do it in advance of dying, and if you use 100-percent cotton thread, the stitching and fabric will more or less match.

Above: My new lavender-gray table cloth looks lovely, especially paired with warm wood and golden accents.
Looking for more ways to DIY your Thanksgiving? Consider making your own:
- Black Beeswax Taper Candles
- Turmeric-Dyed Yellow Tablecloth or Runner
- Vegetable Centerpiece (for Under $10)
- Silvery Holiday Wreath for $20
- Wall of Colorful Dried Flowers
- $38 Pot Rack for Compact Kitchens

Have a Question or Comment About This Post?
Join the conversation