Lately, I've been obsessing over Paris-based Mark Eden Schooley's Koushi lamp (and the €240 price tag). After gathering up a few lengths of cotton voile and making a quick dash to the hardware store, I set out to make my own version.
The imperfect shape and the intentionally frayed edges of the Koushi lamp make it a relatively simple and low-stress project, but give yourself an afternoon to get the construction of the wire frame down. For detailed instructions, see below.


Above two photos: The Koushi lamp is equally at home in modern or traditional settings; photos via Mark Eden Schooley.

Above: The above photo from Artilleriet in Sweden provided visual inspiration for my project. Schooley's petite lamp measures 18 by 24 inches, but I started with something smaller in mind. Below are my instructions for a 12-by-12-inch lamp; adjust the measurements accordingly for a larger lamp.
Materials:
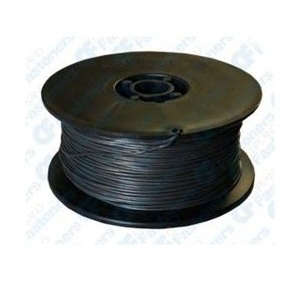
- 25 feet of Annealed Steel Wire
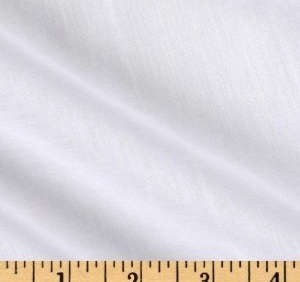
- 1.25 yards of White Cotton Voile
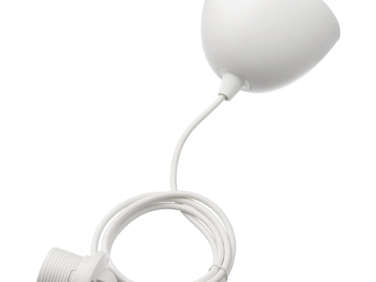
- A white or black Ikea Hemma Cord Set
- Wire cutters and pliers
- White cotton thread and a sewing needle
Instructions:
- Cut three 36-inch long pieces of steel wire. Make three separate hoops by linking each piece of wire into an oval shape. Connect the two ends by folding the wire into small hooks; pull the wire taut with pliers.
- Next, measure and cut four 14-inch pieces of wire —these will serve to connect the three hoops. Starting with one 14-inch piece, wrap the wire around the lower hoop and work up through the other two. Repeat with the other three until you've created the frame—refer to the above photograph as you connect the pieces together.
- To secure the frame and keep the wires from sliding around, use a one-inch piece of wire to wrap around each joint. Next, cut 18 inches of wire and connect to the top oval to serve as the lamp's handle.
- Take 1.25 yards of cotton voile (a sheer cotton that will give the lamp an ethereal feel) and sew the fabric around the frame with cotton thread. Connect the fabric along the top oval first; work down to the other two in order to pull the fabric taut around the frame.
- Gather the remaining fabric and tie into a knot. Hang the Hemma cord according to Ikea's instructions and be sure to hang the light bulb directly in the center of the shade. Voila.

Above: What you'll need to make the Koushi Lamp.

Above: The finished product.

Above: An aerial view of the finished project.

Have a Question or Comment About This Post?
Join the conversation