After admiring Julie’s wooden pegboard from Germany (as seen in Remodelista: The Organized Home), I hinted to my husband, Chad, that it would make a lovely Christmas present. Fortunately, my husband has done the work for you.
Birch plywood is made from sheets of wood veneer that are “cross-banded”—with the grain at perpendicular angles—and bonded with exterior grade glue, resulting in a stronger board. It’s also among the more beautiful plywoods, with a smooth, light surface and distinct grain.
Supplies
For a more manual approach, you could use a circular saw and hand saw, but these tools would make it hard to achieve even edges.
Tools
To create a smooth surface, lightly sand the edges of ¾-inch plywood base.
Step 1: Sand base board.
Step 2: Create template.
When designing your own board, a few precut pegs can help you visualize the layout.
Note that the border is measured from the edge of the board to the center of each hole.
This detail shows the small center holes that mark where to drill larger peg holes.
Step 3: Drill holes from both sides.
When drilling holes, make sure your drill bit is perfectly perpendicular to the board, otherwise your holes will be too big and your pegs will be loose.
Sample of larger holes drilled part-way.
Example of the finished holes drilled from the back side.
Step 4: Sand holes.
Example of sanding each hole.
When using saws, be sure to wear safety goggles and keep hands clear of the blades.
Step 6: Cut six-inch dowels or pegs.
Chad cuts the shelf boards.
Step 7: Cut six-inch lengths for shelf boards.
Step 8: Cut shelves into three widths.
Cutting the shelf widths. Calculating shelf widths is a bit awkward with this project because they will be determined by the number of holes each shelf crosses.
Step 9: Sand shelves and pegs.
Once cut and sanded, the edges of your shelves with have a nice textured grain.
Chad begins to drill a hole for the shelf pegs.
Step 10: Drill holes in shelf pegs with countersink bit.
Sample of countersink hole drilled with countersink bit.
Countersink drill hole used for hanging the board.
Step 12: With Countersink Bit, Drill Holes in Each Corner for Hanging
Step 13: Drill Base to Wall
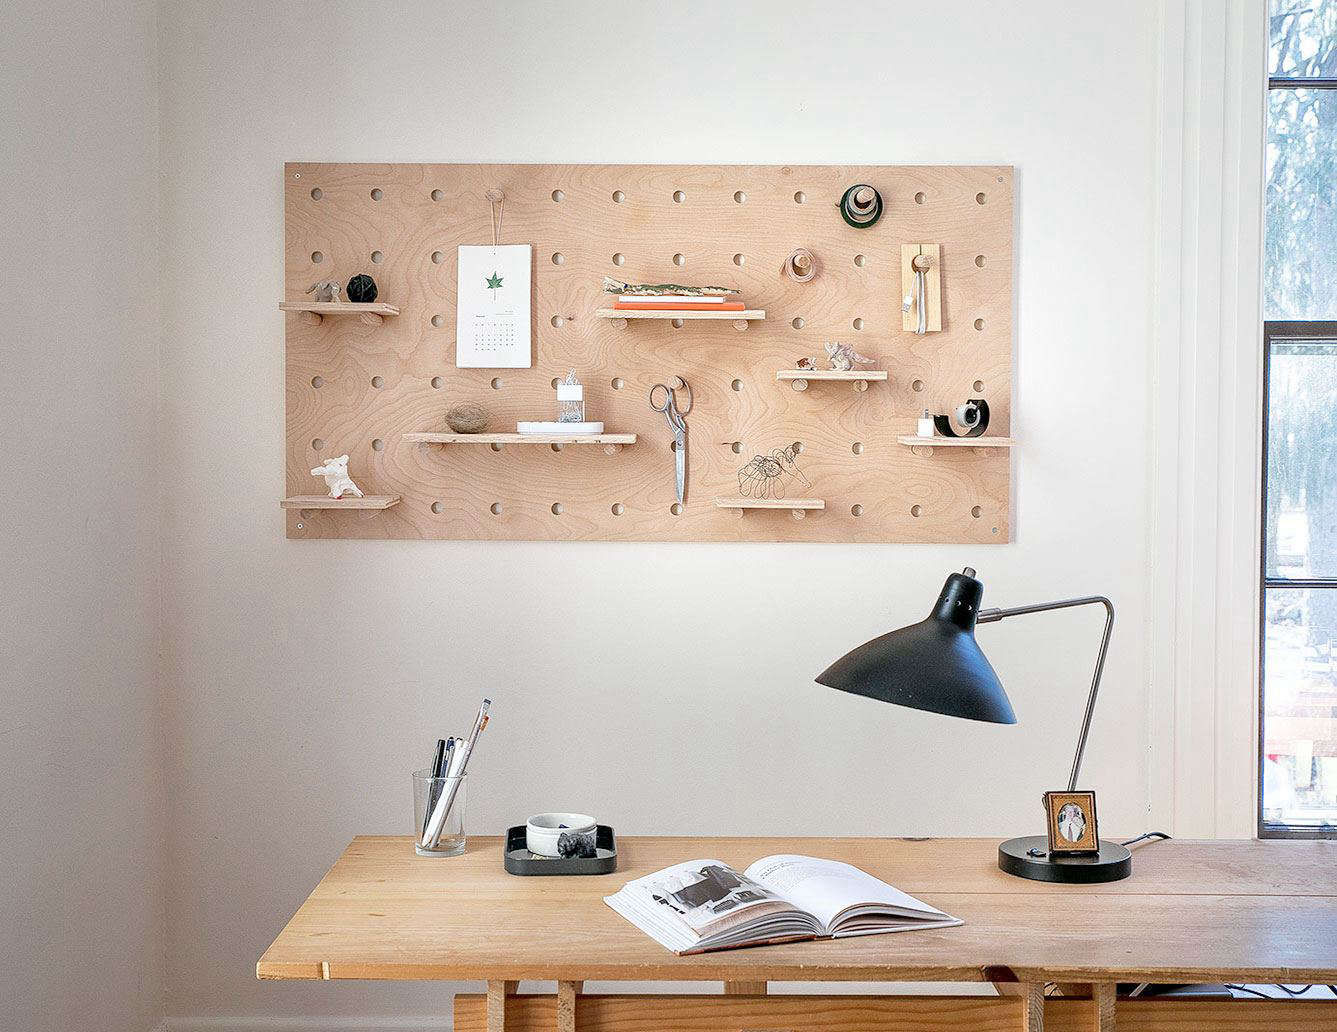
I hung my pegboard over my desk.
Step 14: Arrange shelves and pegs.
Arrange shelves as desired and organize your items on shelves and pegs.
In addition to storage for office supplies, my pegboard serves as a mini gallery for my children’s’ sculptures.