Ready to make a change in your kitchen, without the expense and hassle of sourcing and installing all-new everything? A new coat of paint on kitchen cabinets, when done well, can completely change the look of your kitchen—on a minimal budget. (If you need proof, just see 6 Kitchen Cabinets Transformed with Paint.)
Ready to get started? Here are 10 things to know:
1. Wood is best.
When it comes to painting cabinets, any kind of wood will do. “Unfinished, painted, and stained wood all work well, as does MDF, compressed/faux wood,” says painter Albert Ridge in How to Paint Kitchen Cabinets: 5 Tips from a Master Painter. But painting is pretty forgiving: “In truth, any material that you can scuff up with sandpaper so that paint adheres is viable. That’s why laminates aren’t a good choice—you can paint them, but it won’t be long-lasting. Note that stained wood and glossy finishes have to first be de-glossed; I use a liquid sander, Wil-Bond, that’s applied with a rag.”
2. You’ll need to label each cabinet panel.

When taking cabinet doors off of their hinges and drawers out of their slots, you’ll need to come up with a system to remember where everything goes. Draw a small diagram and label each piece accordingly so you can easily put them back in the correct places once they’re dry.
And, you’ll need tape: carefully cover hinges, hardware, and edges with painter’s tape, and countertops with rosin paper or brown builder’s paper. As with any paint job, the more thorough the prep, the better the result.
3. Now is the time to deep-clean.

No, you can’t keep food in your cabinets while you paint the exteriors. But never fear: now is also a perfect time to organize what you have. Remove everything, lay it out (Marie Kondo style), and weed out unused items. You’ll also need to take the time to clean your cabinets thoroughly, inside and out, with a grease-cutting cleanser, to remove any residue or spills that have occurred over the years. Store foodstuffs in a separate room, if possible, during the painting process, then return them, newly organized, once your cabinets are finished and completely dry.
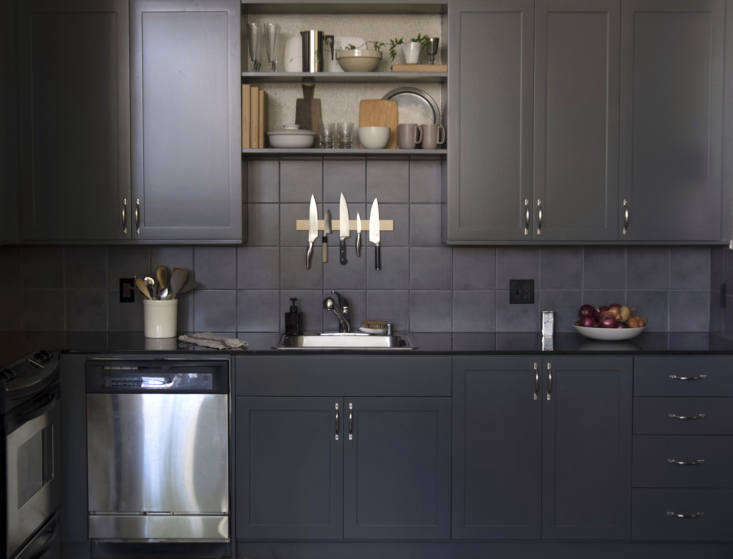
4. You can come back from black.

Of course you can easily paint your white- or light-colored cabinets in a darker, trendy shade. But if you’ve grown tired of dark gray (or the deep blue that was on trend a couple of years ago; see: Trend Alert: The Cult of the Blue Kitchen), never fear: you can, with some effort, return your cabinets to a lighter shade. The key is in the primer: “Consider tinting the primer to match the final color,” suggests painter Albert Ridge in How to Paint Kitchen Cabinets: 5 Tips from a Master Painter. “If your color transition is extreme, you might instead add a coat of underbody, such as Fresh Start, a thicker, less transparent primer that hides more (and can also be tinted). You can have the tinting done in the paint store; I request 75 percent of the final color, so it’s lighter but close.”
(Meredith painted her bathroom black, then back to white again; her tips apply to the kitchen as well. Read on in Back from Black: Repainting the Bath from Dark to Light.)
5. Use the hard stuff.
For cabinets, forget matte and eggshell finishes, and opt for semigloss, gloss, or satin instead—hardy finishes that are easy to clean. “You want a surface that’s durable and wipeable, so you won’t be painting again for at least a few years,” says Ridge.
6. The magic number? 2 to 2.5.

Drop the roller: to get the best finish on painted cabinets, use a two- to two-and-a-half-inch fine bristle brush instead, which can get in the small corners and details. Or, if you must use a roller, find a mini one that will fit handily on smaller surfaces, then go over with a brush to eliminate roller marks and get into any tiny spaces.
For more foolproof painting tips, see Remodeling 101: 12 Essential Tips for the Perfect Paint Job.
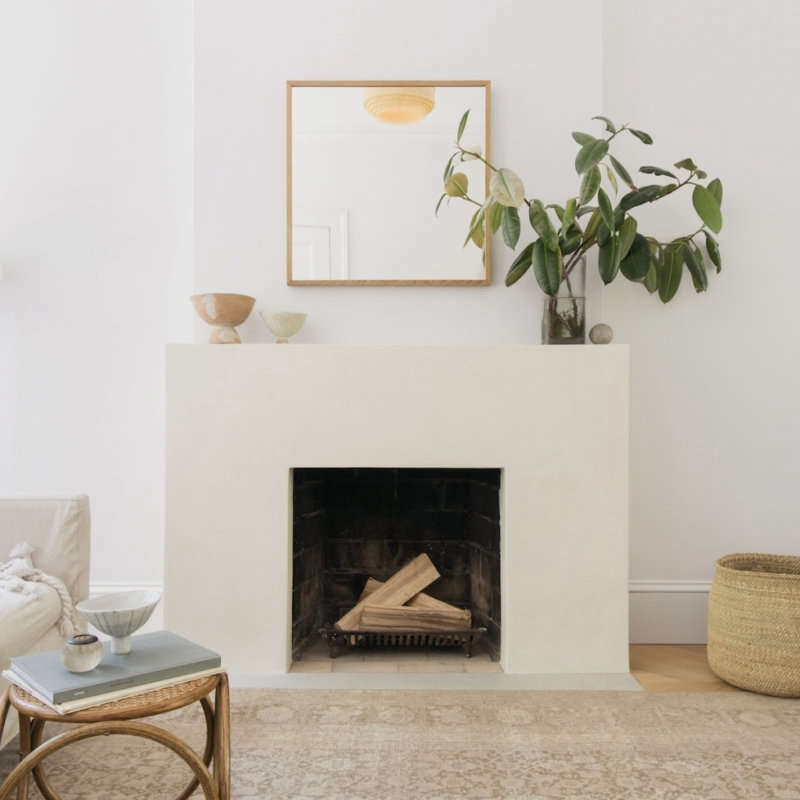
7. For a clean, bright look, you can’t go wrong with white.

Advises Berkeley, California-based interior designer Gustave Carlson (a member of our Remodelista Architect and Designer Directory): “I like my cabinets to blend with the room color.” White (his preference is Benjamin Moore’s Linen White) “creates a quiet backdrop for the room’s activities” (and brings light in as well). Opting for a fresh coat of white paint? See more architects’ picks in 10 Easy Pieces: Architects’ White Paint Picks for Kitchen Cabinets.
8. Have glass-fronted or open cabinets? Be sure to paint the interiors, too.

The beauty of glass-fronted cabinets and open shelving is that it allows you to display what’s inside. But don’t forget that this puts the interiors of your cabinet boxes on display, too. These will need a careful coat of paint—or, opt for a different shade on the interiors, for intrigue. (For more on the pros and cons of glass, and other types of cabinets, see Remodeling 101: A Guide to the Only 6 Kitchen Cabinet Styles You Need to Know.)
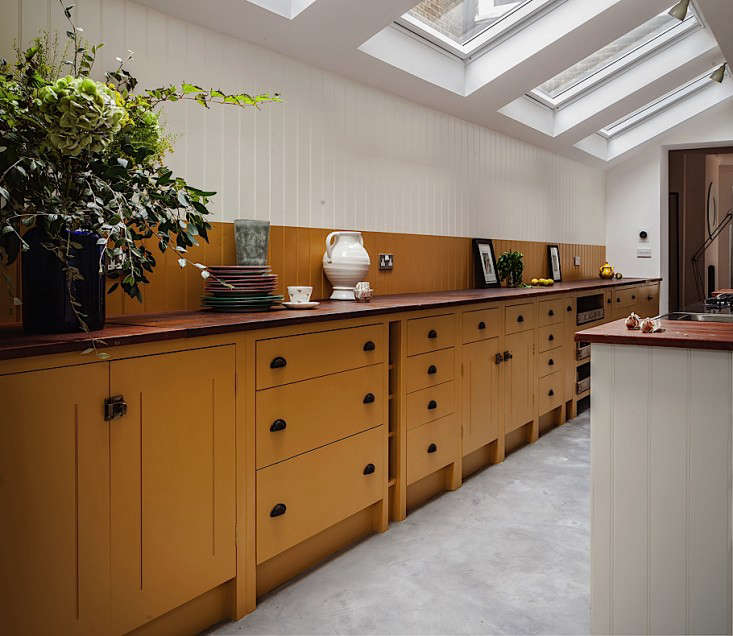
9. Tired of blue? Try yellow.

Blue cabinets and green cabinets have had their moments (see Architects’ 12 Favorite Blue Paints for Kitchen Cabinets). What’s set to take off in 2019, according to the Pinterest 100: Top Trends for 2019? Yellow. Give it a try if you’re feeling bold.
10. Feeling impatient? There’s spray paint for that.
If painting by hand sounds tiresome, it is possible to spray-paint your cabinets. Follow all of the same prep steps with care, then take your cabinet fronts and drawers outside (or meticulously cover everything else in the room) before spraying. Source a professional-quality sprayer and remember this mantra: multiple thin coats, not one thick one.
More tips and tricks to know before you remodel:
- 10 Things Nobody Tells You About Marble Countertops
- 10 Things Nobody Tells You About Painting a Room White
- 10 Things Nobody Tells You About Shiplap
Frequently asked questions
What are the tips for painting kitchen cabinets?
The tips for painting kitchen cabinets are preparing the surface of the cabinets, removing the doors and hardware, sanding the cabinets, priming the cabinets, using a roller and brush for painting, allowing ample time for drying and giving two coats of paint.
What are the steps to prepare the surface of the cabinets for painting?
The steps to prepare the surface of the cabinets for painting are removing the hardware, scrubbing and cleaning the cabinets, sanding down the cabinets, fixing any dents or scratches with wood filler, and cleaning the cabinets again.
What kind of paint should be used for painting kitchen cabinets?
A high-quality paint should be used for painting kitchen cabinets, such as Benjamin Moore or Sherwin Williams. It is best to use paint that is specifically designed for cabinets and that is durable, long-lasting, and easy to clean.
How can one ensure that the painted cabinets last for a long time?
To ensure that the painted cabinets last for a long time, one can use a high-quality paint, use a primer, let the coats of paint dry thoroughly before applying the next coat, and avoid using harsh chemicals or abrasive cleaners on them. Additionally, one can also hire a professional to paint the cabinets for better results.
What should be the ideal time gap between drying two coats of paint?
The ideal time gap between drying two coats of paint is around 4 hours. However, it is best to check the instructions on the label of the paint to know the exact drying time and duration for applying the next coat.
Can one paint laminated cabinets with ease?
One can paint laminated cabinets with ease, but it needs to be done carefully. One should start by lightly sanding and then cleaning the laminated surface. Then, apply a bonding primer that is specifically designed for laminates and let it dry. Finally, one can apply two coats of high-quality paint and let them dry thoroughly.