After installing a dramatic kitchen system in black oak in her Drammen, Norway, home, blogger Nina Holst of Stylizimo took a hands-on, low-cost approach to the backsplashes. She made them herself using hardware store birch plywood that she stained black. We’d like to follow her example, and Nina kindly offered to share the details.
Photography by Nina Holst for Stylizimo.

Above: The DIY backsplash rises along the sink wall. The kitchen is Riva from Danish kitchen company JKE; it’s faced in a matte, fingerprint-resistant “intelligent laminate” that works well with Nina’s stained plywood.

Above: The backsplash is crowned by a useful display shelf. Nina (who, in addition to being a design blogger is a photographer and stylist, but emphasizes not a designer) had the wood cut to size. She says it only required sanding on the sharp corners.

Above: By staining rather than painting the wood, the grain shows through. Nina chose Lady Pure Nature 9044 Kullsort, a stain from Jotun of Norway. “I used a cloth to rub it in,” she told us. “With two layers, it looked dark brown; three layers made it black.”

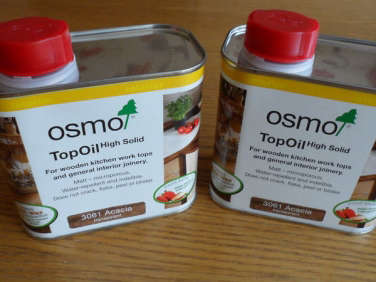
Above: Nina also stained the edges of the plywood. She sealed the boards with Osmo Top Oil, a water repellent oil and wax sealant for wood that has a matte finish.
Final details: Nina screwed in the boards herself and then glued and screwed on the shelf and, as a finishing touch, painted all the screws black. She’s lived with the kitchen for almost a year and reports the backsplash “looks as good as new, but I guess it wouldn’t hurt to reapply the top oil from time to time.” Go to Stylizimo for more on the DIY Backsplash and to see the Kitchen Before & After.
Figuring out your own kitchen? Go to Remodeling 101: Five Questions to Ask When Choosing a Backsplash, and stay tuned for more backsplash hacks later this week.


Have a Question or Comment About This Post?
Join the conversation